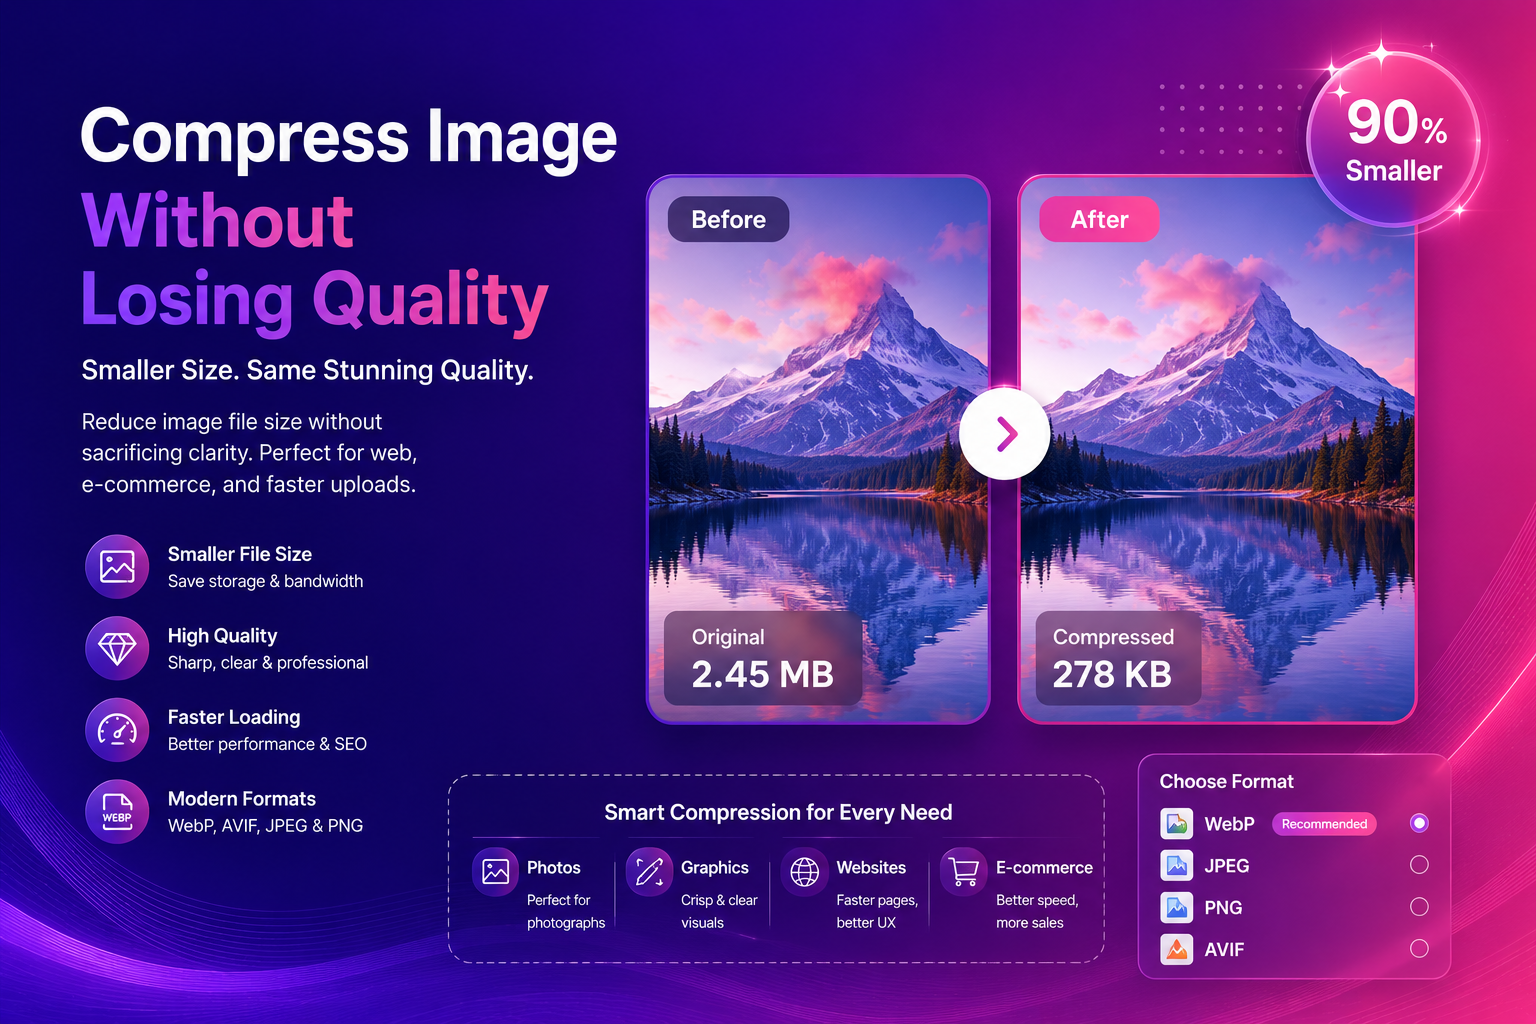
Compress Image Without Losing Quality (Best Methods)
Want to compress image without losing quality so your site loads faster, your uploads pass platform limits, and your designs still look professional? You’re solving a real business problem. Large images slow down pages, increase bounce rates, and reduce conversions—especially on mobile.
The good news is that “compression” doesn’t have to mean ugly artifacts. With the right approach (format + settings + workflow), you can shrink file sizes a lot while keeping images crisp.
What “compress image without losing quality” really means
Let’s be honest: some compression always changes pixels. The goal is visually lossless compression—meaning the difference is hard to notice at normal viewing size.
There are two main compression types:
- Lossless: preserves all original pixel data (often larger files)
- Lossy: removes some data to save space (usually much smaller)
Featured snippet: best quick choice
- Photos → WebP or JPEG (careful quality settings)
- Graphics with transparency → PNG or WebP
- Modern web delivery → AVIF if supported in your pipeline
Why compression matters for SEO and UX
Google and users both prefer fast sites. If your pages load slowly because of heavy images, you lose:
- organic rankings (over time)
- ad performance (higher costs, lower conversion)
- user trust (slow feels unreliable)
If you publish images regularly, it’s worth learning the basics. web.dev has a practical overview of image performance topics:
web.dev: Image performance issues
Step-by-step: compress images the right way
1) Decide where the image will be used
Compression settings depend on context:
- Product gallery: small/medium images, fast loading is key
- Hero banner: larger image, keep quality higher
- Social media: platforms re-compress; start from a clean file
- Print: compression can destroy detail; use higher quality
2) Pick the best format (this is the “big win”)
Format choice often saves more than tweaking a quality slider.
JPEG (best for photos, common everywhere)
Pros: widely supported, small files
Cons: artifacts at low quality, no transparency
PNG (best for transparency and sharp edges)
Pros: lossless, great for text/logos
Cons: can be huge for photos
WebP (great modern default)
Pros: strong compression, supports transparency
Cons: older tools sometimes lack support
AVIF (smallest, often best quality per byte)
Pros: excellent compression
Cons: encoding can be slower; workflow support varies
For a clear, practical guide on formats, use MDN’s reference:
MDN: Image file types and formats
3) Compress after your edits (not before)
If you compress first and then edit, you compound artifacts. A good workflow is:
- Edit the image (crop, background, etc.)
- Resize to the final display size
- Compress as the last step
If your image needs cleanup, start with editing:
- For product cutouts, try our free AI background remover and export a transparent PNG.
- If the image is small, run our image upscaler first to recover detail.
- For portraits, use our face enhancer for a natural, sharper look.
4) Resize before compressing (a common beginner mistake)
If your site displays an image at 1200px wide, uploading a 6000px image is wasted bandwidth. Resize to the max size you need, then compress.
5) Check quality the right way (don’t trust thumbnails)
Always inspect at:
- 100% zoom for artifacts (blockiness, banding)
- typical viewing size for real-world appearance
Best compression settings (practical starting points)
These are safe starting points for most workflows:
For product photos (e-commerce)
- Format: WebP or JPEG
- Quality: medium-high (avoid crunchy edges on labels)
- Resize: match your store template (consistent size)
For blog images and tutorials
- Format: WebP
- Quality: medium
- Resize: 1200–1600px width usually works well
For UI screenshots (text must stay crisp)
- Format: PNG or lossless WebP
- Avoid aggressive compression (text gets muddy fast)
How to avoid “quality loss” (the real causes)
People blame compression, but these are the real problems:
- Over-compressing: quality set too low
- Double compression: exporting multiple times as JPEG
- Wrong format: using PNG for photos or JPEG for text graphics
- Upscaling after compression: makes artifacts larger
H3: the “one export rule”
If you can, keep a clean original version (high quality), and export the compressed version only at the end. That single habit prevents most quality issues.
Compression + AI editing: the best order (featured snippet)
If you use AI tools, follow this order:
- Remove background (if needed)
- Upscale (if needed)
- Enhance faces (portraits)
- Resize
- Compress
This keeps edges clean and avoids magnifying artifacts.
Real-world examples (what to do in common cases)
Case 1: product photo with messy background
Goal: clean, consistent catalog image that loads fast.
Workflow:
- Use our AI background remover to get a clean cutout
- Place on a neutral background (white or light gray)
- Resize to your store’s standard size
- Compress to WebP/JPEG for fast loading
Case 2: blurry image that must be used in a banner
Goal: improve clarity, then compress.
Workflow:
- Try our image upscaler to recover detail
- Export at the banner size
- Compress carefully (don’t overdo it)
Case 3: portrait for a landing page
Goal: sharp face, small file.
Workflow:
- Use our face enhancer after basic cleanup
- Resize to the exact section width
- Compress with WebP for modern delivery
External sources (authority)
If you want deeper technical references:
- MDN: Image formats and trade-offs
- web.dev: Image performance issues
- Google Search Central: Image SEO basics
FAQs
Can I compress an image without losing quality at all?
You can compress “visually” without noticeable loss, especially with modern formats. True lossless compression may not reduce size dramatically for every file.
What is the best format to compress photos?
WebP is a great modern default. JPEG is still fine when compatibility is the priority.
Why does my image look worse after compression?
Most often: quality too low, wrong format, or multiple JPEG exports.
Should I compress before or after background removal?
After. Edit first, compress last to avoid artifacts.
How do I compress images for Shopify or marketplaces?
Resize to the platform’s recommended size, then compress to a clean WebP/JPEG while keeping labels readable.
CTA: Try ImgifyTools for faster workflows
If you want a simple workflow from edit → export:
- Try our free AI background remover for clean product cutouts.
- Use our image upscaler when resolution is too low.
- Enhance portraits with our face enhancer for a professional finish.
Upload your image and see results instantly.
Conclusion
To compress image without losing quality, focus on the big levers first: the right format, the right size, and compressing at the end of your workflow. When you combine smart compression with AI editing (background removal, upscaling, and face enhancement), you get assets that load fast, look premium, and help your content perform better everywhere.
You may also like
Print-Ready Images — DPI, Pixel Size, and What Actually Matters
Learn how DPI, PPI, and pixel dimensions affect print and portal uploads. Practical guidance for setting print metadata without inventing quality claims.
Read next →
Convert Low Quality Images To Hd (AI Method)
Convert low quality images to HD using AI. Learn a clean step-By-step workflow to upscale, reduce artifacts, and improve faces and cutouts for real use.
Read next →
Passport Size Photo Maker Online (Free Guide)
Make a passport size photo online for free. Learn sizes, common mistakes, background rules, and a fast workflow using AI tools for clean results.
Read next →