Print-Ready Images — DPI, Pixel Size, and What Actually Matters
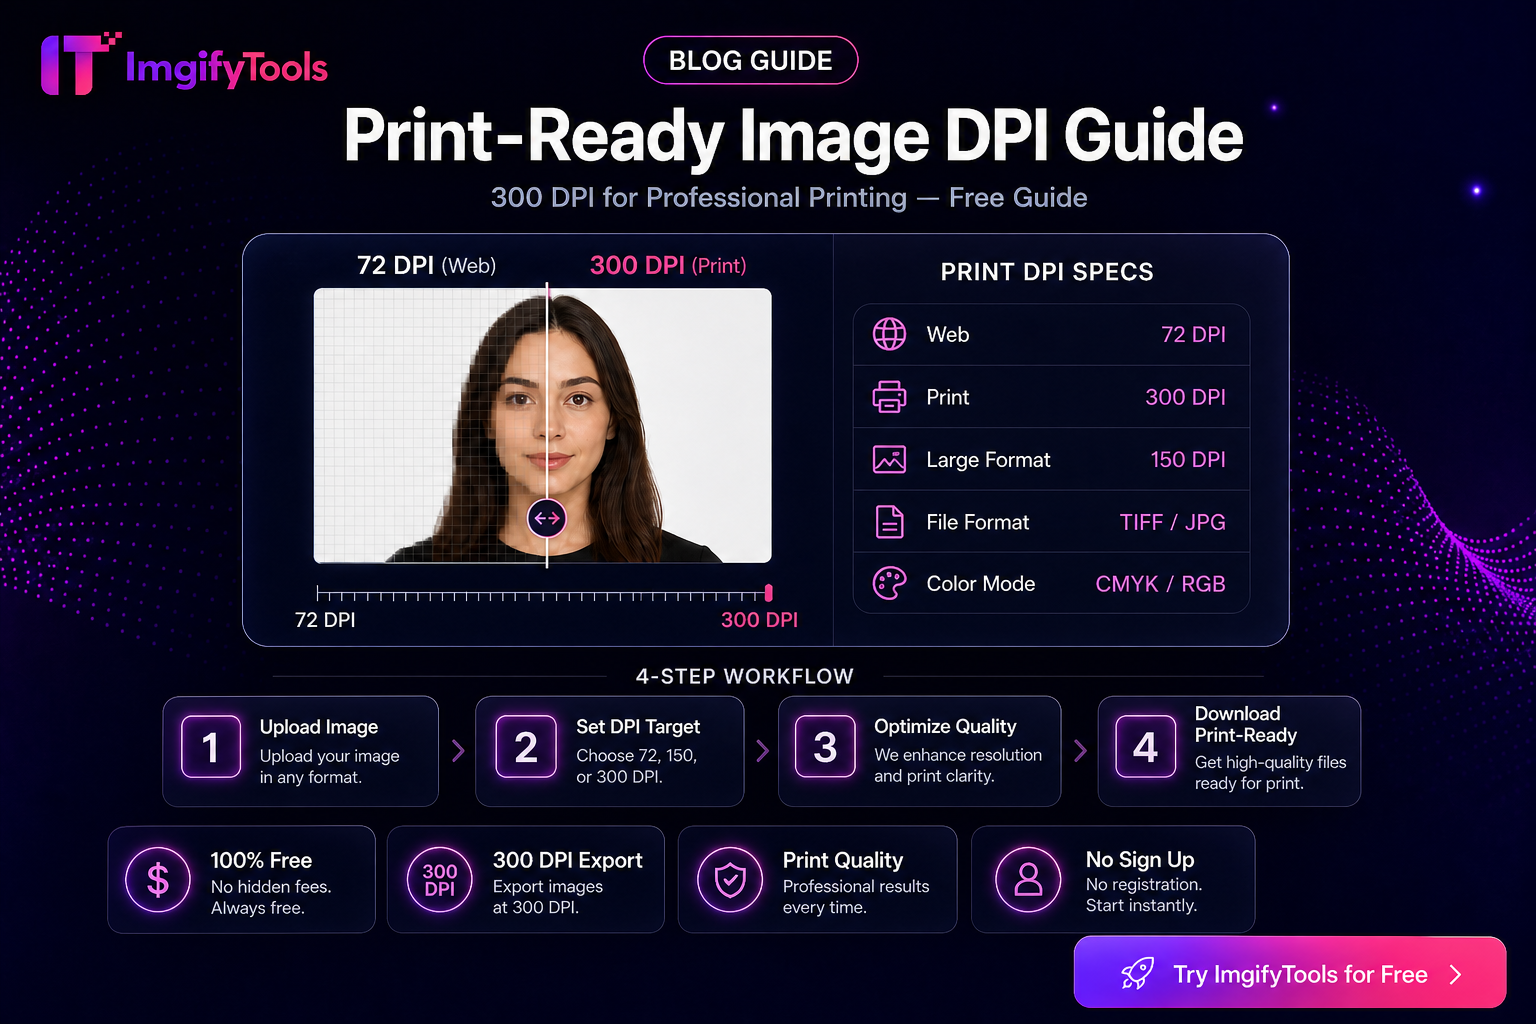
“Make it 300 DPI” shows up on print shop checklists, school forms, and design briefs. The phrase is useful shorthand—but pixel dimensions and viewing distance decide whether a print looks sharp. DPI metadata alone does not invent detail that was never in the file.
Tool: Image DPI Converter. Related: exact file-size limits.
DPI vs pixels (short version)
| Term | What it means | What it does not mean |
|---|---|---|
| Pixel dimensions (e.g. 2400×3000) | How much image data exists | Print quality by itself |
| DPI / PPI metadata | How software maps pixels to inches when printing | Extra sharpness baked into the file |
| Print size (inches) | Physical output area | Guaranteed acceptance by every portal |
Rule of thumb: for a given print size, more pixels → more detail available. Changing only the DPI tag without resampling keeps the same pixels and changes the implied print size in inches.
Example: a 1800×2400 image tagged at 300 DPI implies about 6×8 inches. The same pixels tagged at 72 DPI imply a much larger physical size with softer detail per inch if you print that large.
Common print targets (guidance, not guarantees)
These are industry habits, not universal law. Always follow the printer or portal’s written spec.
| Use | Typical target | Notes |
|---|---|---|
| Photo lab / flyer at arm’s length | ~300 DPI at final inches | Need enough pixels for the physical size |
| Large posters viewed from farther away | Often lower effective PPI | Distance hides softness |
| Web / screen only | 72–96 DPI tags are common | Screens display pixels; DPI tags rarely matter |
| Form uploads that “require 300 DPI” | Match the form and any pixel/KB rules | Many portals check dimensions or file size more strictly than DPI |
Workflow: prepare a print-minded file
- Decide the final print size in inches (or confirm the form’s required pixels).
- Confirm you have enough pixels: roughly
inches × DPIon each side for a sharp-looking print at that DPI. - If you only need the metadata tag changed for a compliant export, open Image DPI Converter, set 72 / 150 / 300 / 600 as required, and download.
- If the image is soft or too small for the print size, fix capture or upscale carefully—metadata will not restore missing detail. For low-res rescue, try AI Image Upscaler and judge at 100% zoom.
- If a portal also caps kilobytes, compress after DPI/size work with Image Compressor.
What usually goes wrong
| Problem | Likely cause | Fix |
|---|---|---|
| Soft print at large size | Too few pixels for the inches | Reshoot larger, crop less aggressively, or accept a smaller print |
| “300 DPI” file still rejected | Portal wants specific pixels or KB | Meet the written pixel/KB rules; DPI alone may not be checked |
| Colors look dull on paper | Screen vs print color / uncalibrated monitor | Soft-proof if your printer provides a profile; expect some shift |
| File too heavy after export | High-res PNG or light compression | Compress for upload; keep a master for print |
Privacy and processing
Edit/convert tools such as the DPI converter upload your file to ImgifyTools servers for temporary session processing. They are not a permanent public library of uploads by default. The in-browser image editor primarily processes on your device. Details: Privacy Policy.
Limitations
- Setting DPI does not add resolution.
- CMYK press workflows, ICC profile embedding, and bleed/trim marks are outside this tool’s scope.
- “Print ready” still depends on paper, ink, and the shop’s RIP—preview on a calibrated screen is not a contract with the printer.
FAQs
Is 300 DPI always required?
No. It is a common photo-print habit. Large-format work and screen delivery often use different expectations. Follow the destination’s instructions.
Will changing DPI make my photo sharper on screen?
Usually no. Screens show pixels. The DPI tag mainly affects how print software interprets physical size.
Can I do this without installing software?
Yes—use the browser DPI converter. Uploads are temporary server-side processing as described above.
Related reading
You may also like
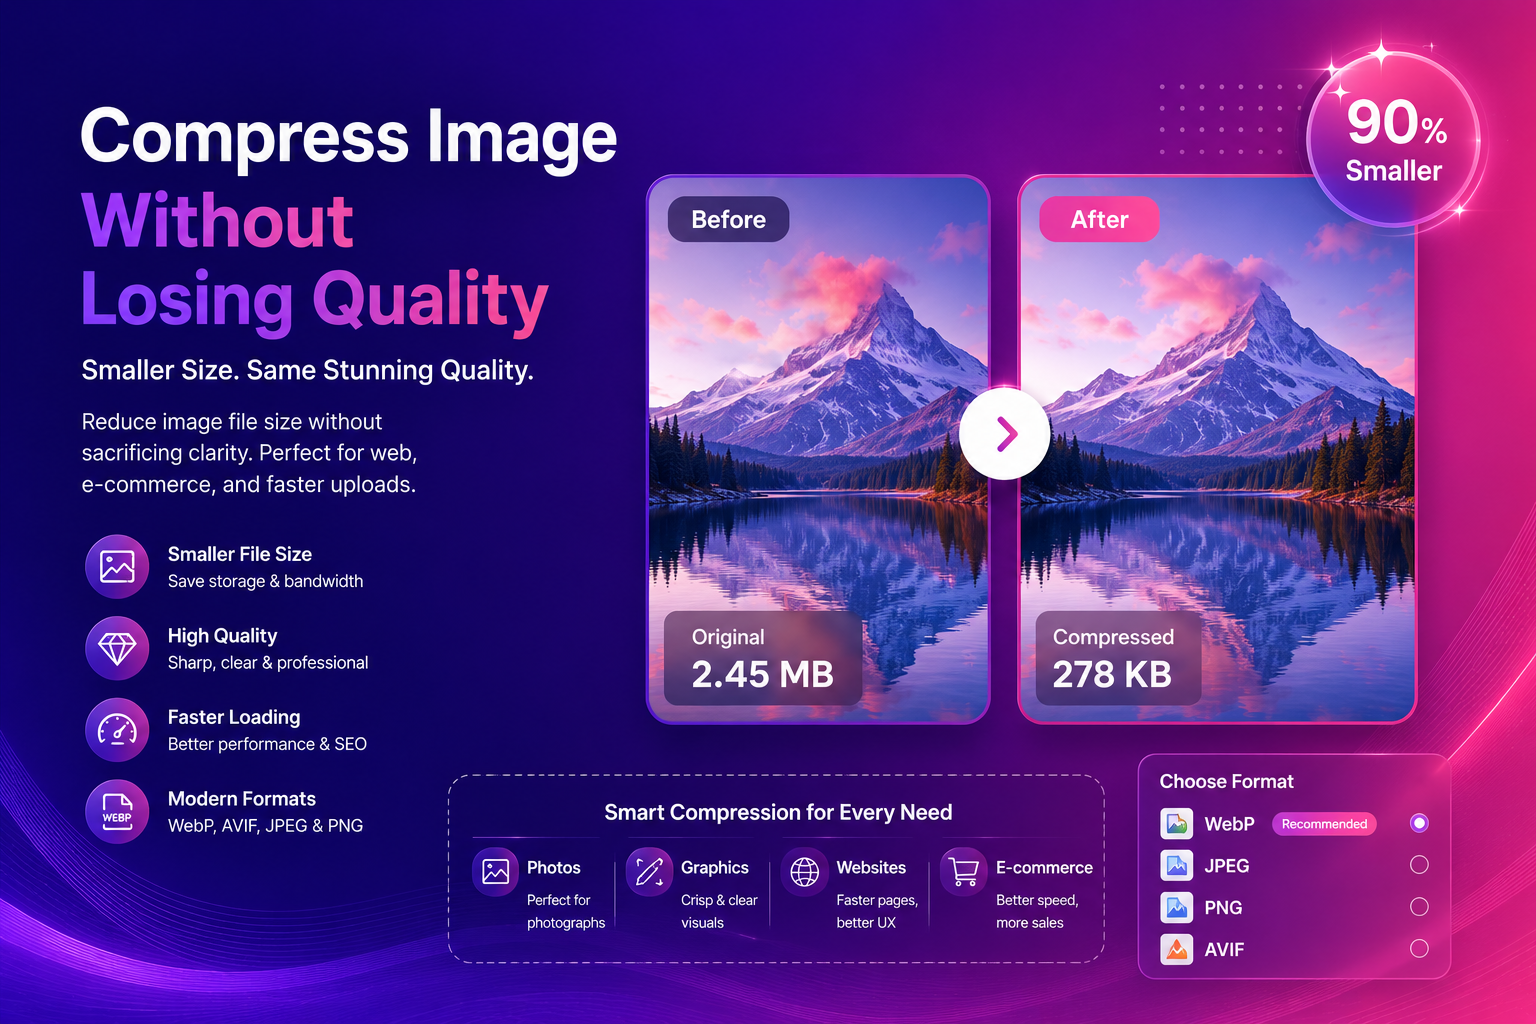
Compress Image Without Losing Quality (Best Methods)
Compress images without losing quality using practical methods for web and e-commerce. Learn formats, settings, and a simple workflow for fast, sharp results.
Read next →
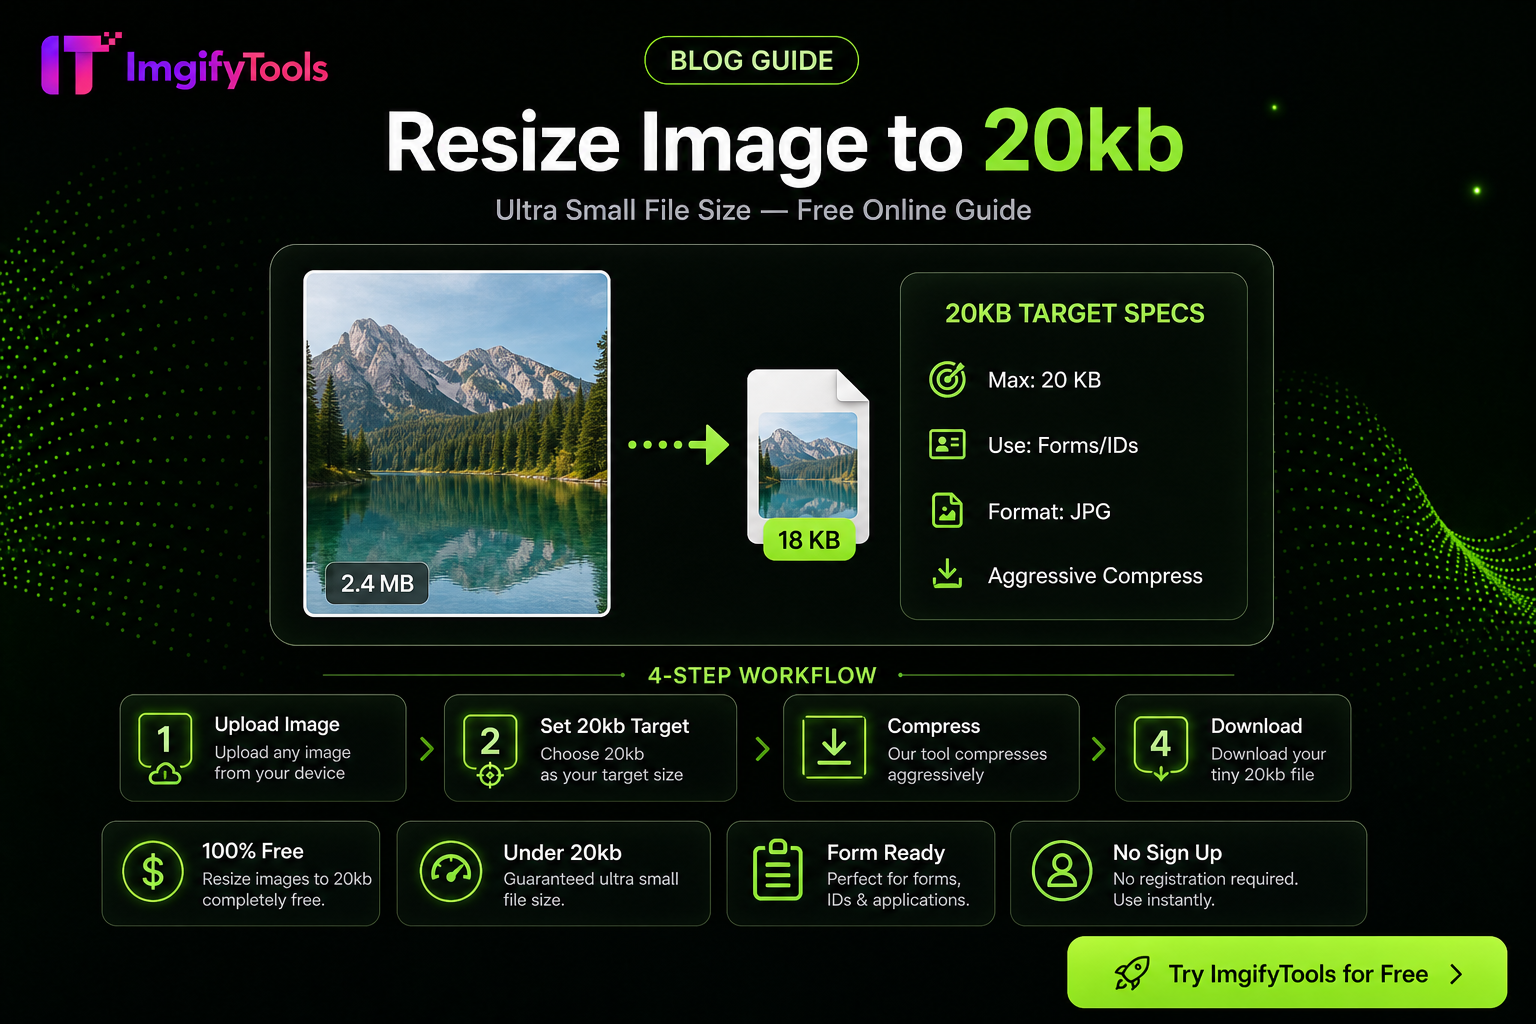
How to Compress an Image to 20KB Without Ruining Quality
Hit a 20KB upload limit with less mush: resize first, pick JPG/WebP wisely, then use target-KB compression—practical steps for portals and forms.
Read next →
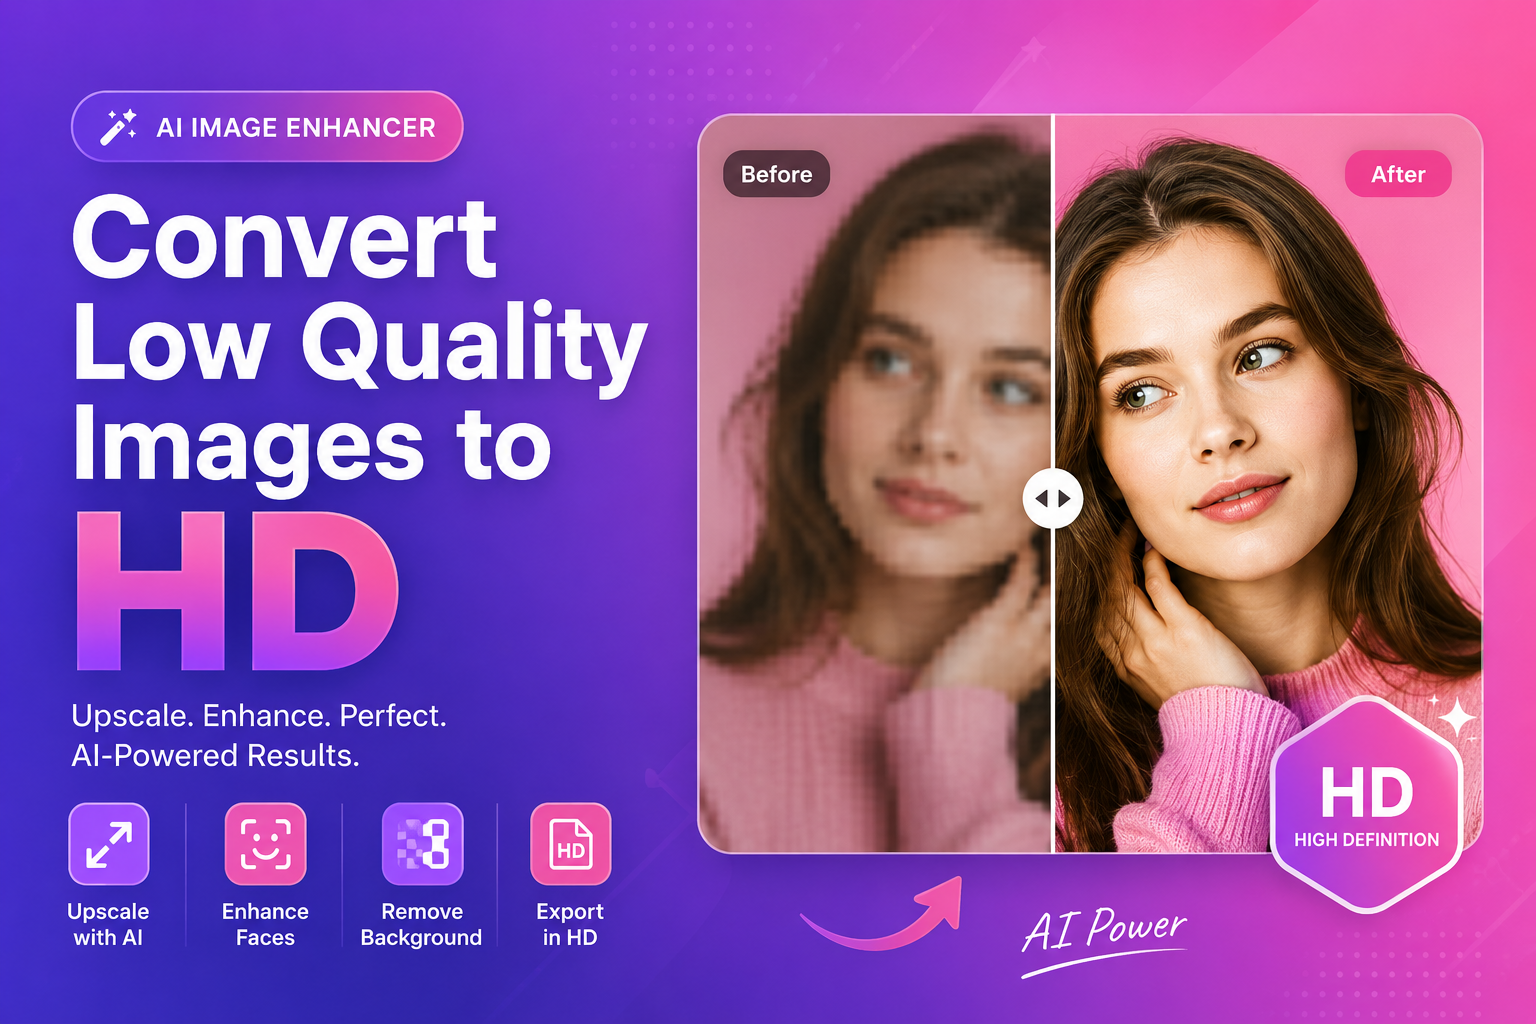
Convert Low Quality Images To Hd (AI Method)
Convert low quality images to HD using AI. Learn a clean step-By-step workflow to upscale, reduce artifacts, and improve faces and cutouts for real use.
Read next →