Common Passport Photo Rejection Reasons (and How to Fix Them)
A rejected passport or visa photo usually means a rule mismatch, not a “bad camera.” This checklist covers failures that show up across many authorities, then points to practical fixes. Always compare against the official checklist for your country or visa type. This page is not legal advice.
Hub: Passport photo requirements by country. Tools: Passport Photo Maker, Visa Photo Maker.
Top rejection reasons
1. Background not plain enough
Patterned curtains, outdoor scenes, office posters, or colored walls fail when the authority requires a plain light background.
Fix: Reshoot against a plain wall with even light, or follow only the background methods your authority allows. Do not assume AI background replacement is accepted—many biometric processes reject it.
2. Wrong head size or crop
Face too small in the frame, chin cut off, excessive forehead space, or a stretched non-proportional crop.
Fix: Use the official head-height diagram. Recrop in Passport Photo Maker without distorting aspect ratio.
3. Shadows and uneven light
Side window light creates cheek or background shadows that automated and human checks flag.
Fix: Soft front lighting; stand a step away from the wall to reduce cast shadows.
4. Expression and pose
Open mouth, exaggerated smile, tilted head, or hair covering eyes when rules require a neutral face.
Fix: Neutral expression, mouth closed, eyes open toward camera—unless your authority explicitly allows otherwise.
5. Glasses and eyewear
Glare on lenses, tinted lenses, or frames covering eyes when prohibited.
Fix: Follow the country’s glasses rule exactly (some ban glasses entirely for new applications).
6. Filters and beauty edits
Skin smoothing, face reshape, or stylized filters that change identity features.
Fix: Use an unfiltered capture. Enhancement tools are for clarity, not a new face.
7. Out-of-date likeness
Photo older than the authority’s stated window, or taken before a major appearance change.
Fix: Take a recent photo that still looks like you at the appointment.
8. Low resolution or heavy compression
Soft, blocky faces after forcing a tiny KB limit.
Fix: Frame correctly first, then compress carefully with Image Compressor. See exact file-size workflow and 20KB quality tips when a portal is extremely strict.
Recovery workflow
- Read the rejection note—match it to a row above.
- Re-check the official photo page for your jurisdiction.
- Reshoot if lighting/background/expression failed; recrop if only framing failed.
- Export with Passport Photo Maker or Visa Photo Maker.
- Verify pixels and file size on disk before upload or print.
Privacy
Tools that upload for processing send files to ImgifyTools servers for the session and are not kept as a permanent public upload library by default. Privacy Policy.
FAQs
Will fixing one issue guarantee acceptance?
No. Authorities can reject for multiple simultaneous reasons, and human review still applies.
Can I reuse a photo that passed another country?
Only if it also meets the new country’s published rules—sizes and backgrounds often differ.
Should I compress before or after cropping?
Crop/frame to the official template first, then reduce file size if required so you do not crush detail you still need for head-size checks.
You may also like
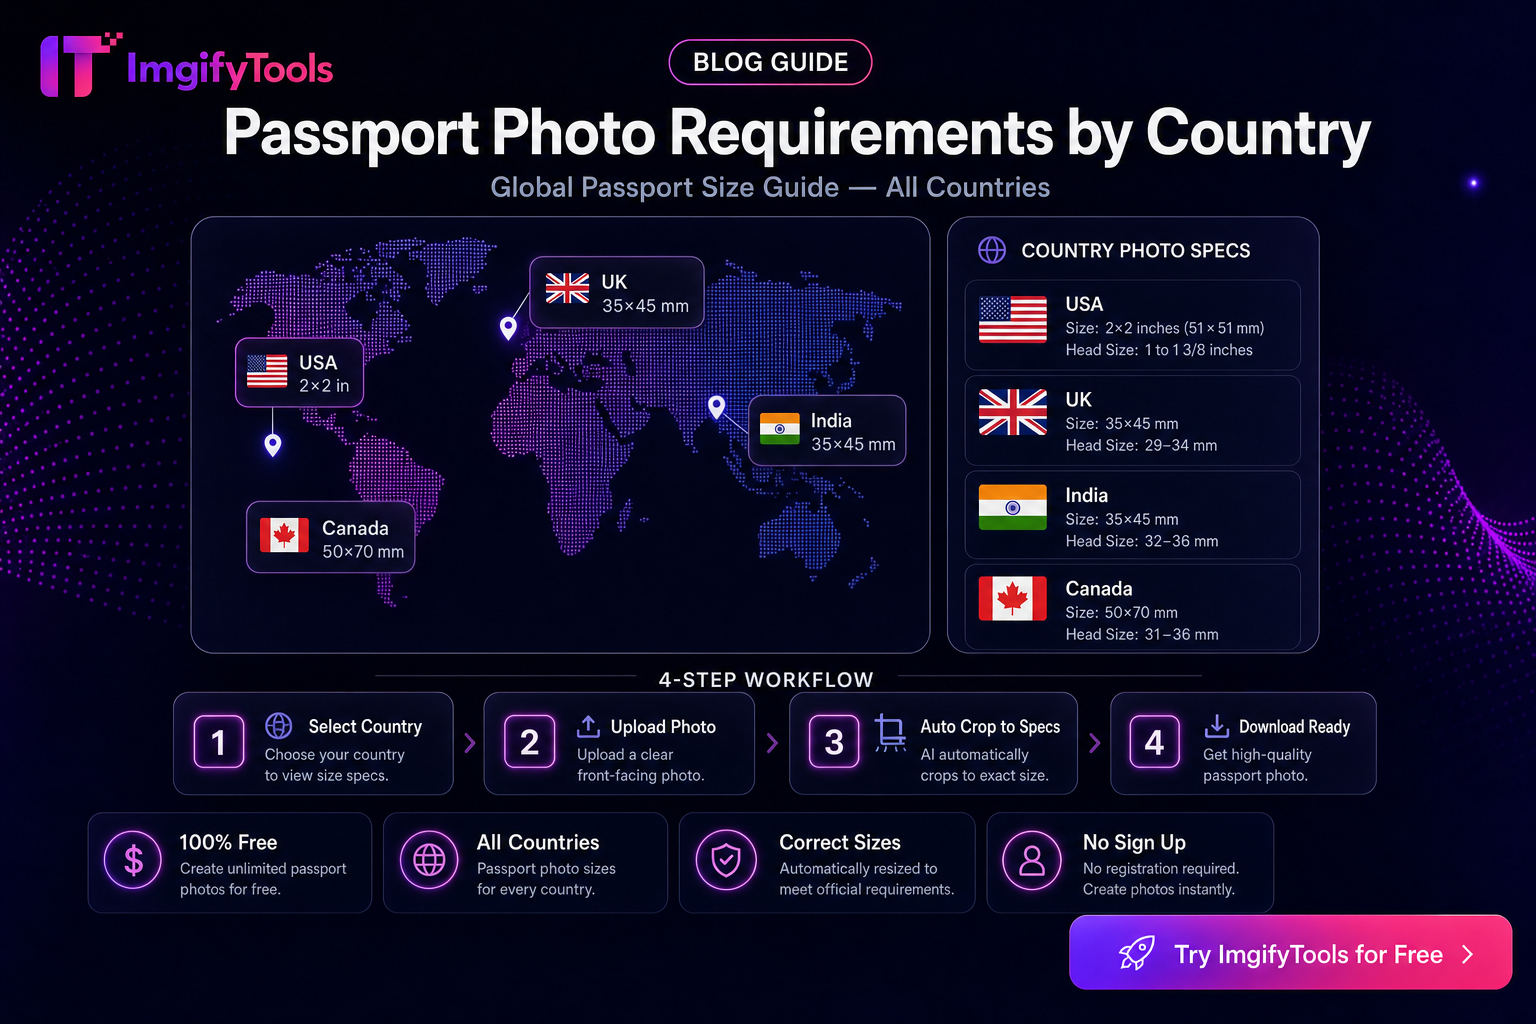
Passport Photo Requirements by Country — How to Check Official Rules
How to verify passport and visa photo size, background, and file rules by country. Hub for ImgifyTools passport tools—not legal advice; always confirm official sources.
Read next →
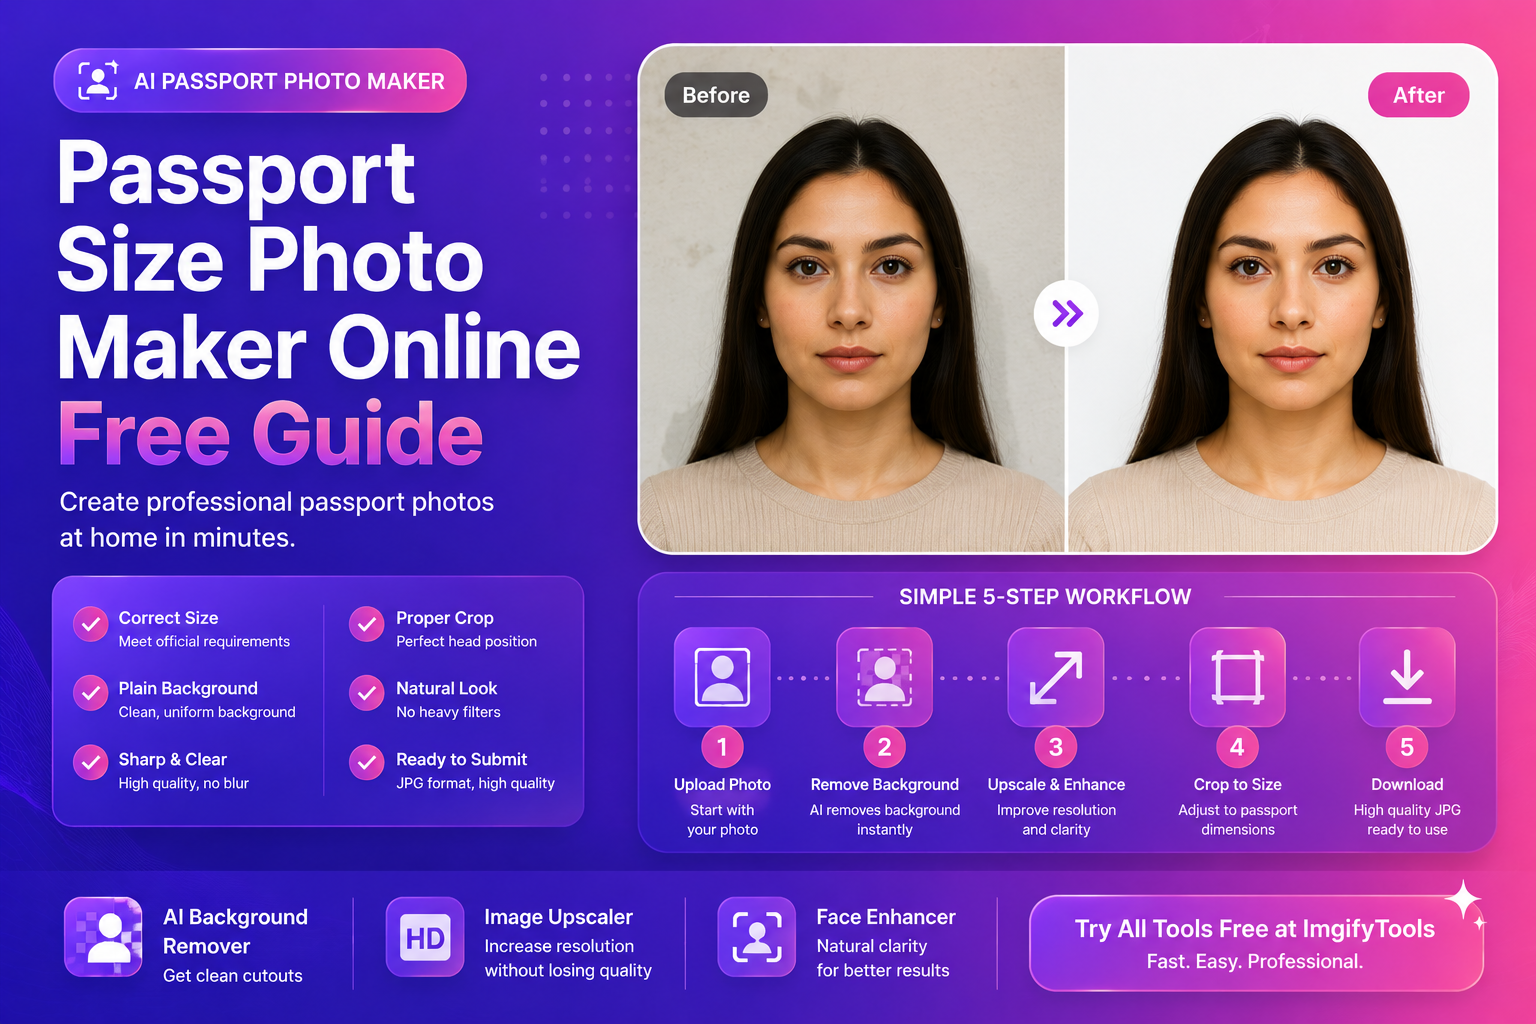
Passport Size Photo Maker Online (Free Guide)
Make a passport size photo online for free. Learn sizes, common mistakes, background rules, and a fast workflow using AI tools for clean results.
Read next →
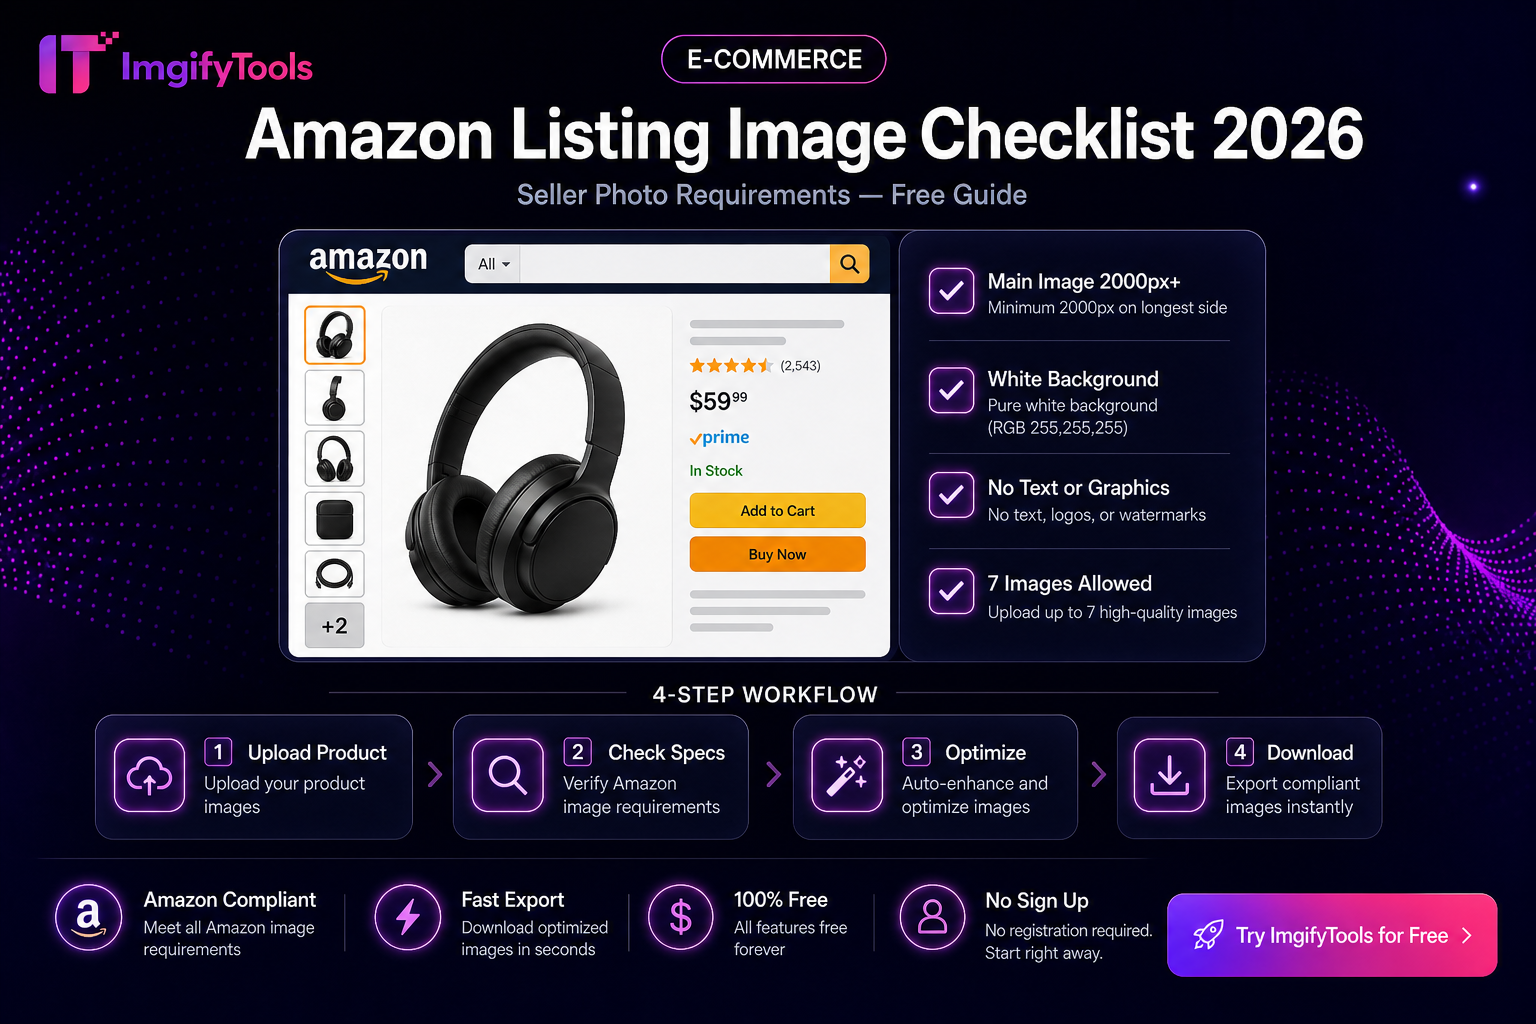
Amazon Listing Image Checklist
Practical Amazon main and secondary image checklist—white background, fill, pixels, and a free ImgifyTools prep flow. Verify rules in Seller Central.
Read next →