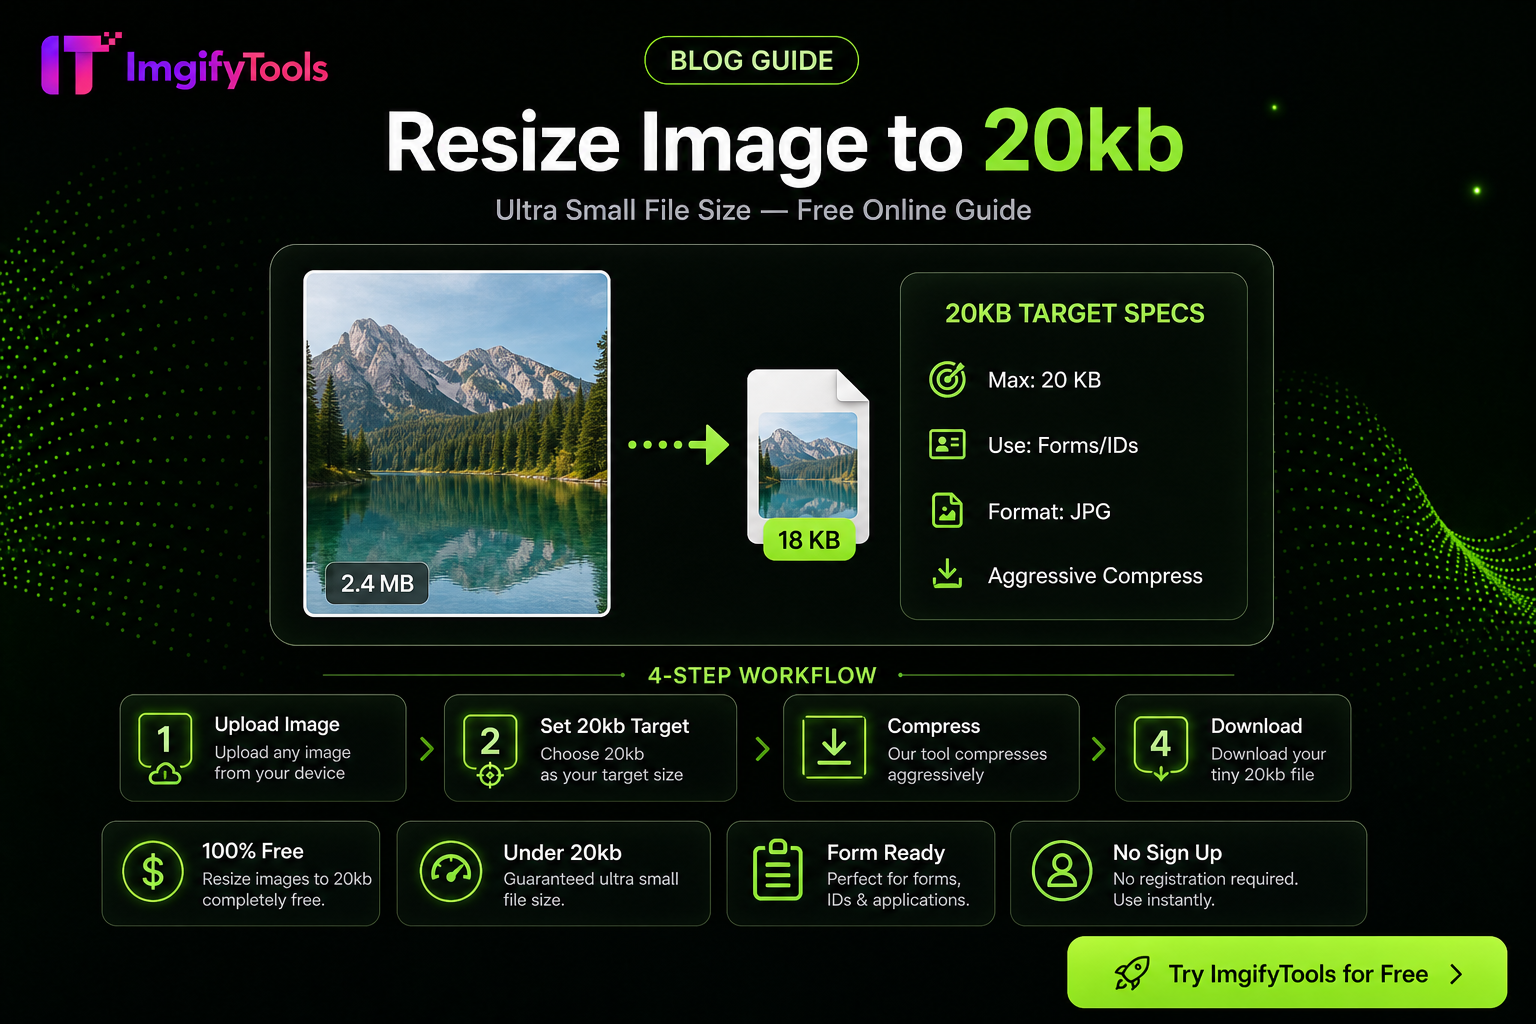
How to Compress an Image to 20KB Without Ruining Quality
A 20KB ceiling is one of the strictest common upload limits on government portals, exam forms, and legacy HR systems. Phone photos are often 2–8MB. Blindly dragging a quality slider to zero usually produces muddy faces and posterized skin. The better approach is a short pipeline: reduce pixels first, choose a photo-friendly format, then compress to a target byte budget.
Primary tools: Resize Image to 20KB and Image Compressor. Related pillar: exact file-size workflow.
What “without ruining quality” means at 20KB
At this budget you will not keep print-level detail. The realistic goal is usable clarity: a recognizable face, readable ID text at form size, and no obvious banding on flat backgrounds. Landscapes and busy product shots suffer more than headshots—start with the simplest subject you can.
Step-by-step workflow
1) Start from the best original
Use the camera original or a lightly edited master. Do not re-compress a file that was already saved for WhatsApp or email—generation loss makes 20KB look worse before you begin.
2) Match the portal’s pixel requirements first
If the form asks for 300×300 or 600×600, resize to that size (or slightly larger) before chasing kilobytes. A 4000×3000 JPG compressed to 20KB will look worse than a correctly sized 600×600 at the same byte count.
3) Prefer JPG (or WebP if allowed)
- Photos / headshots: JPG or WebP
- Logos with transparency: PNG rarely fits under 20KB—flatten to white JPG when the portal allows it
- AVIF: excellent compression, but many government portals still reject it
4) Compress to a target under 20KB
Open Resize to 20KB or set a custom ceiling in Image Compressor. Aim for ~18–19KB so OS rounding and metadata do not push you over the limit.
5) Verify before submit
Check file properties in your OS. Zoom faces and text at 100%. If eyes or passport numbers blur, crop tighter (less background), then compress again from the resized crop—not from the failed export.
Quality-preserving tips that actually help
| Lever | Why it helps at 20KB |
|---|---|
| Crop to subject | Fewer pixels of wallpaper = more bits for the face |
| Soft, even lighting | Noisy shadows compress poorly |
| Plain background | Complex textures eat the byte budget |
| Avoid PNG for photos | Lossless PNG fights the ceiling |
| One compression pass | Re-encoding the same JPG repeatedly adds mush |
Honest limits (and ImgifyTools caps)
ImgifyTools standard uploads are capped around 10MB per file (compression paths may allow larger inputs—check the upload panel). 20KB output is a target size, not an unlimited input promise. Keep a backup of your original.
When 20KB is the wrong goal
Ask whether the portal accepts a higher KB limit for PDF, or a different format. If quality collapses and the form allows 50KB or 100KB, use those presets instead—see the exact size pillar.
FAQs
Can I keep transparency under 20KB?
Usually not for photographic content. Flatten to a solid background, then export JPG.
Is this free?
Yes for standard ImgifyTools browser use—no watermark on typical downloads. Signup is optional for core tools.
Why does my file still fail at 19KB?
Some portals count differently, strip/add metadata, or enforce dimensions separately. Re-export slightly smaller and confirm both bytes and pixels.
Related reading
- Compress image without losing quality
- Resize any image to an exact file size
- PNG vs JPG vs WebP vs AVIF test methodology
Try compressing to 20KB → /edit/resize-to-20kb
You may also like
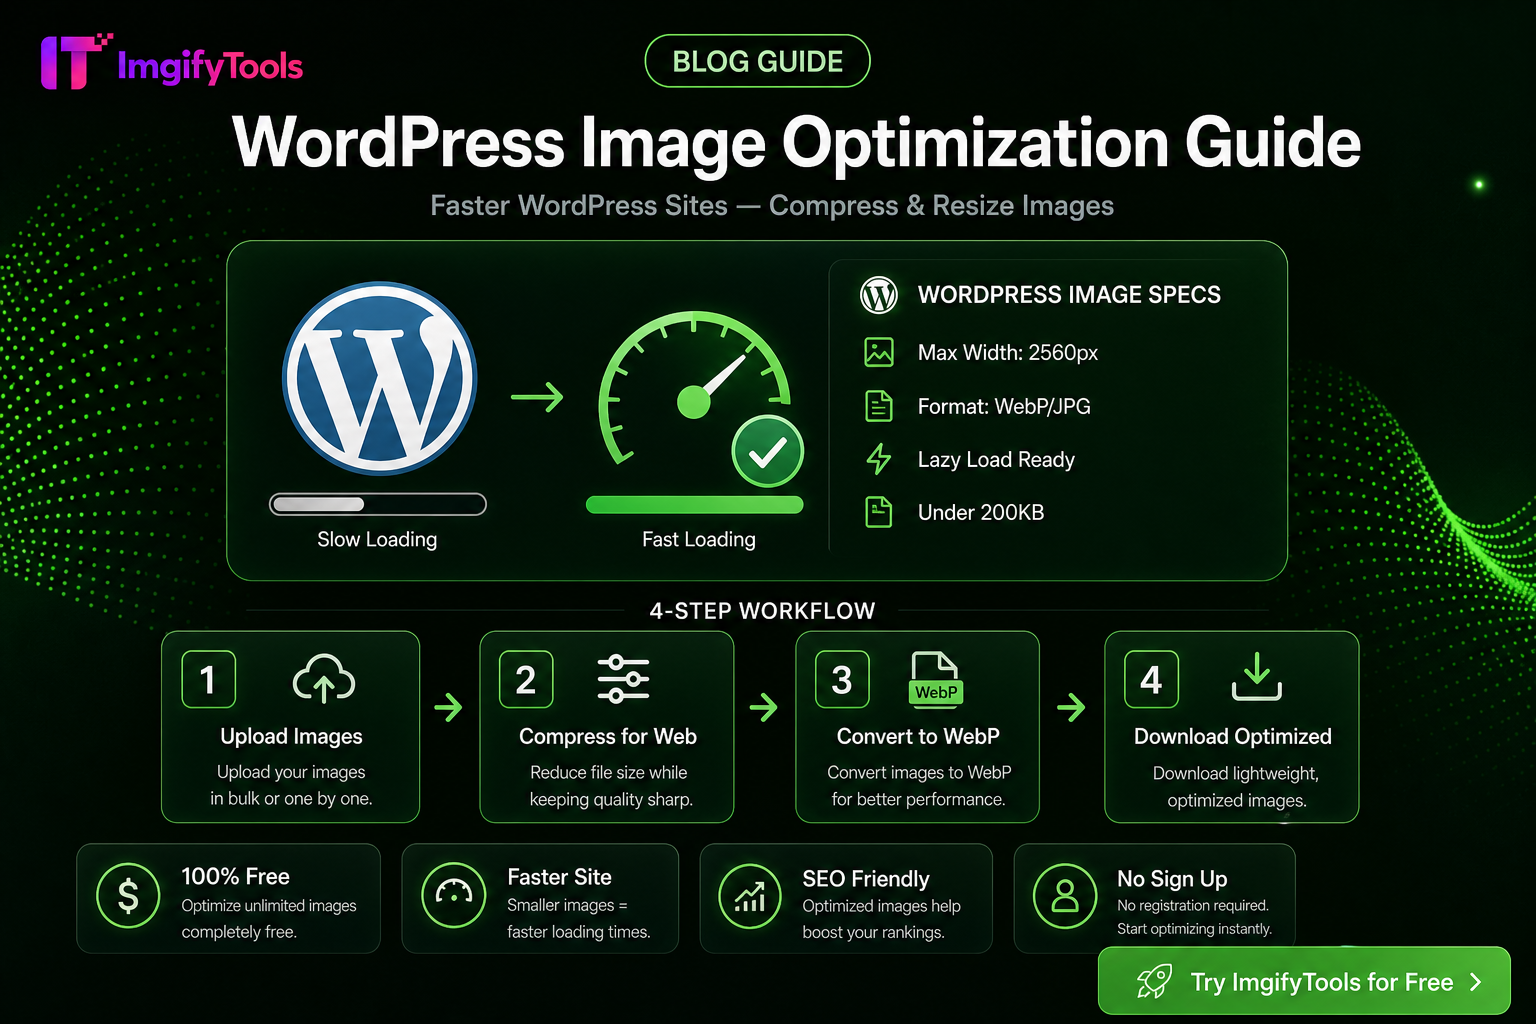
WordPress Image Optimization Guide
Optimize WordPress Media Library uploads—resize before upload, compress photos, pick JPG/PNG/WebP wisely, and keep pages fast without thin plugin hype.
Read next →
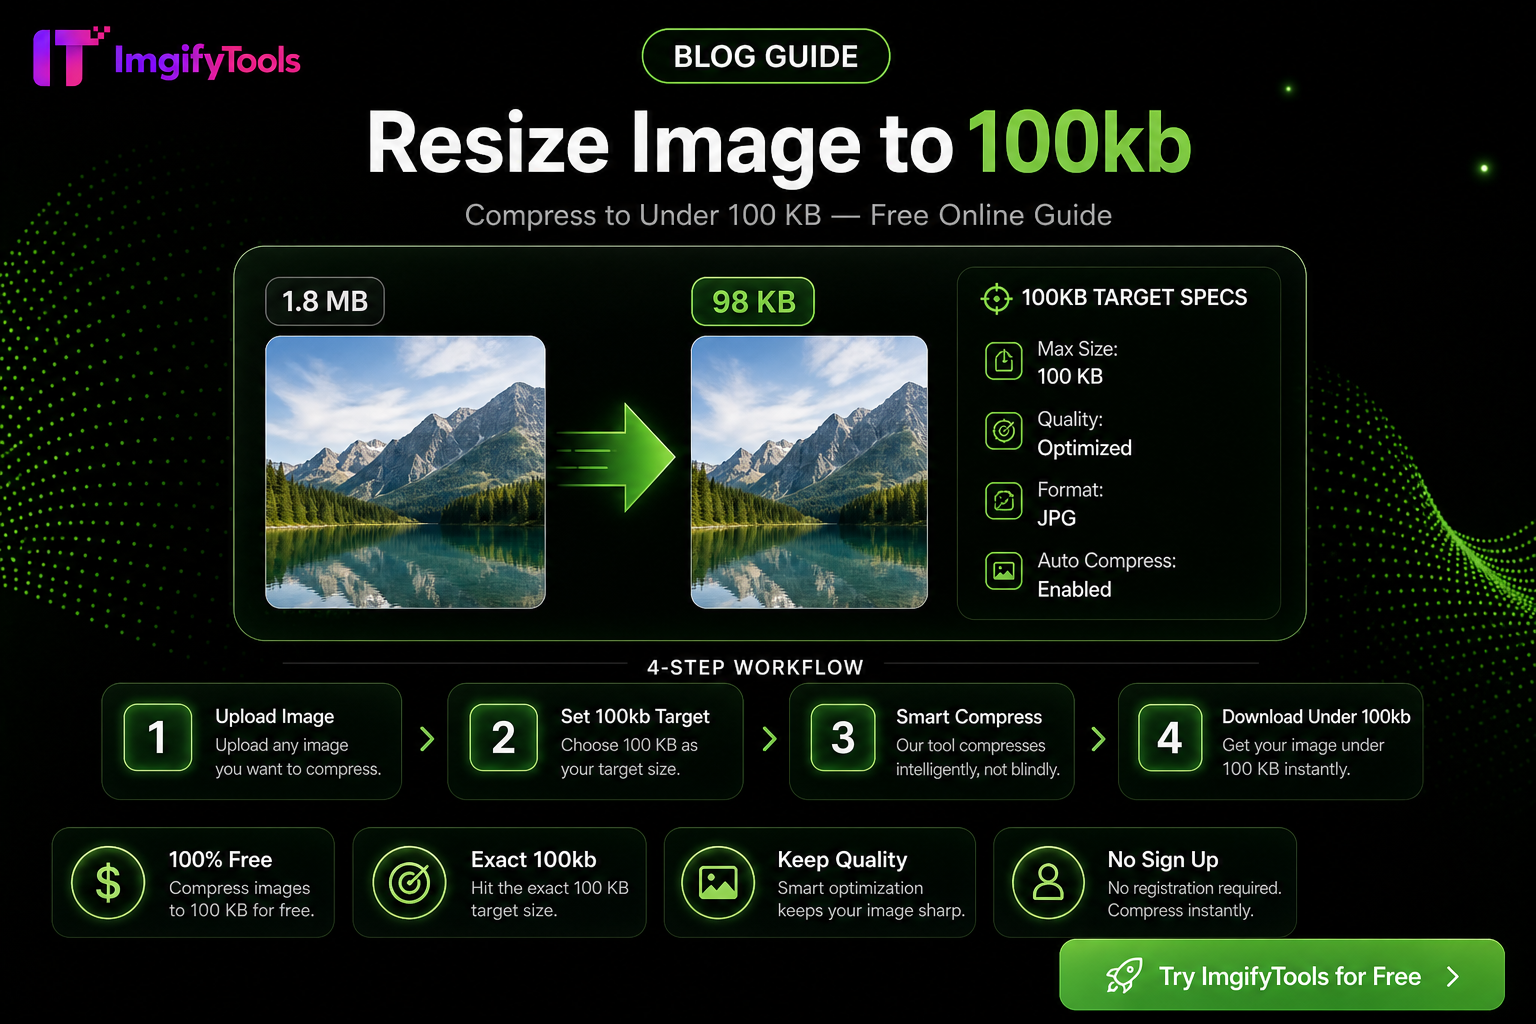
How To Resize Any Image To An Exact File Size
Hit exact KB targets (20KB–200KB) for portals and marketplaces with one free browser workflow—quality tips, pitfalls, and ImgifyTools compressor steps.
Read next →
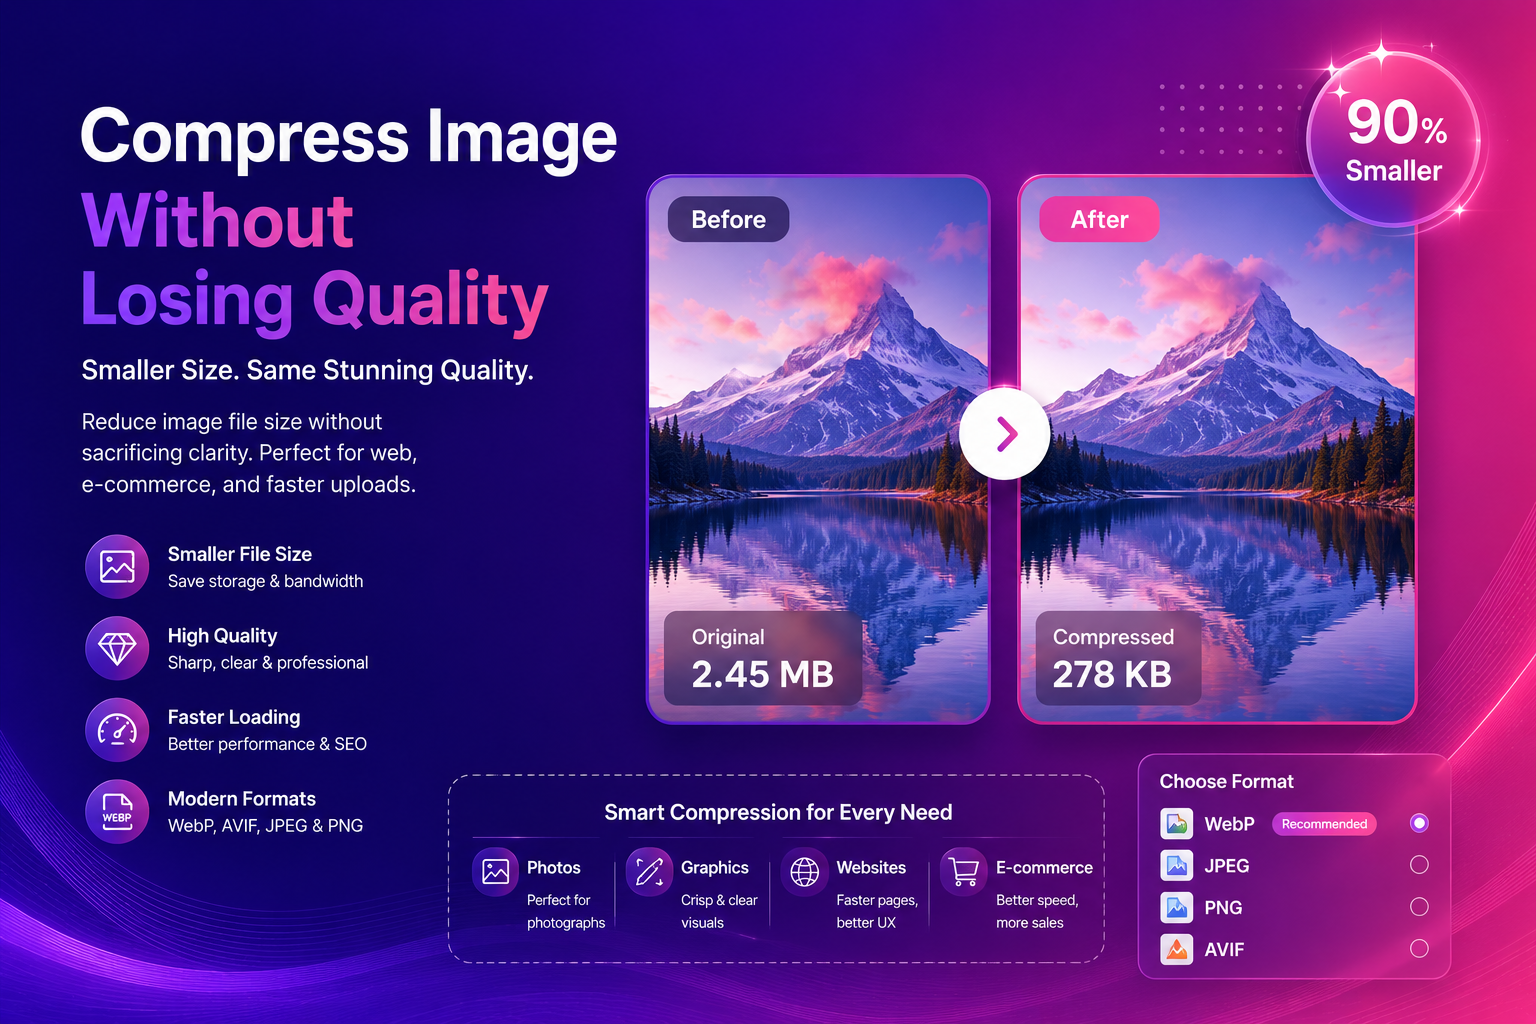
Compress Image Without Losing Quality (Best Methods)
Compress images without losing quality using practical methods for web and e-commerce. Learn formats, settings, and a simple workflow for fast, sharp results.
Read next →