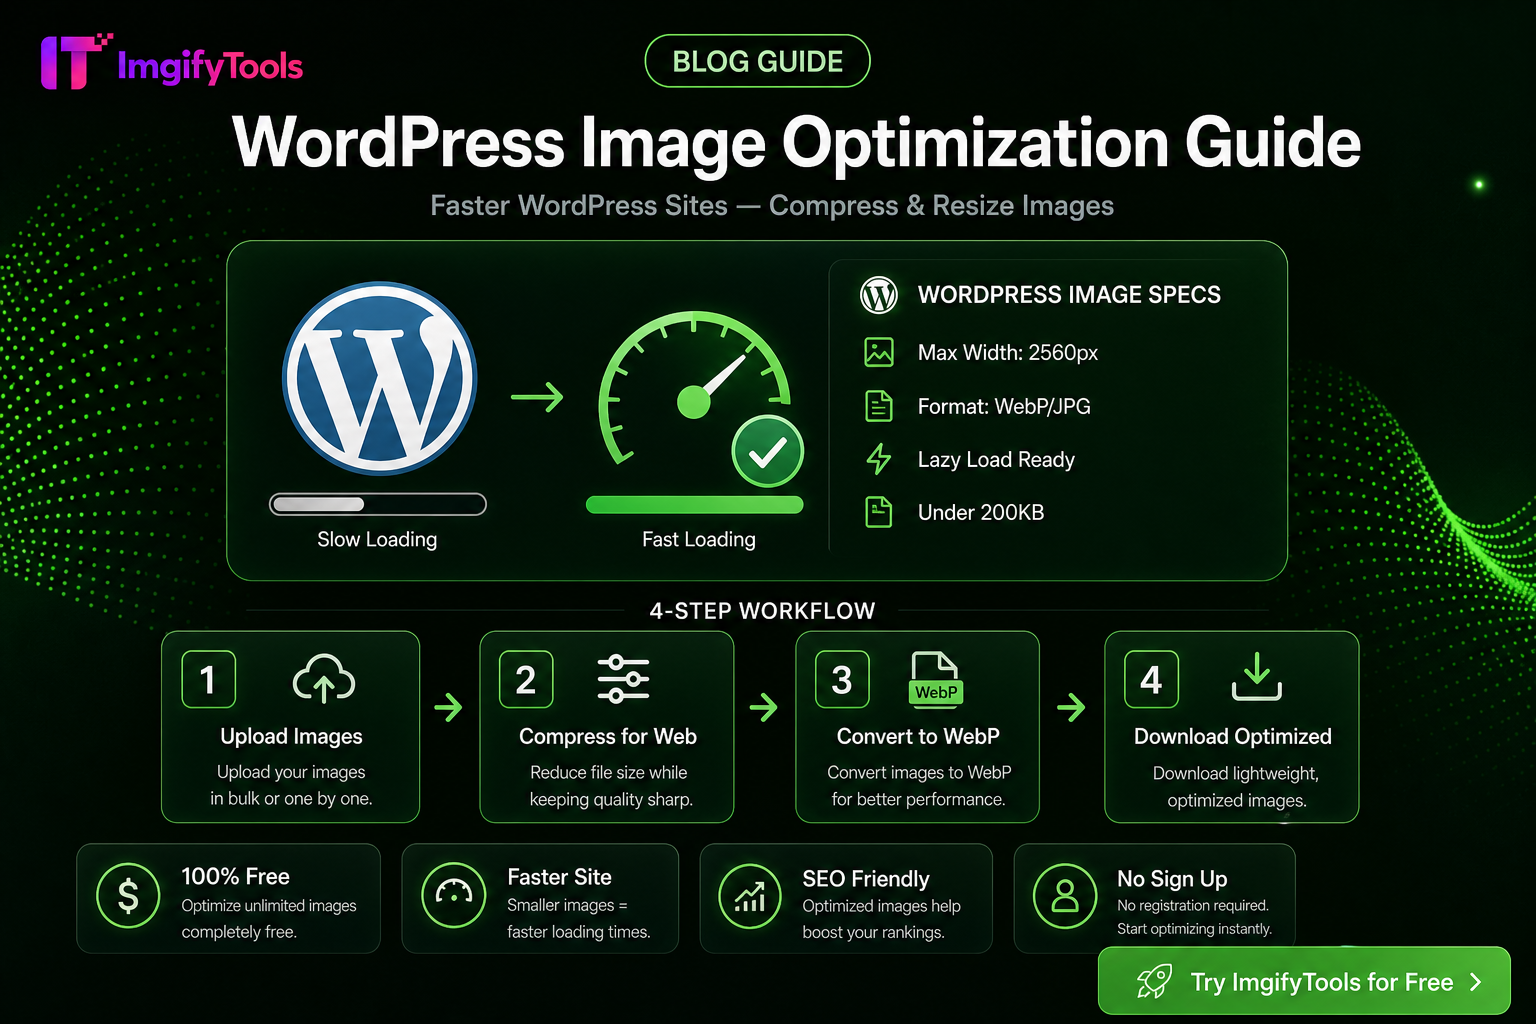
WordPress Image Optimization Guide
WordPress will happily store a 5 MB phone photo and serve derivatives, but your theme, host, and visitors still pay for oversized masters—slow Largest Contentful Paint, full Media Library disks, and editors waiting on uploads. This guide is a people-first media workflow: prepare images before they hit Media Library, then use WordPress settings and (optionally) a cache/CDN stack you already trust.
Tools: Image Compressor, Image Resizer, Image Format Converter, Bulk Image Compressor. Editor for crops/annotations: image editor.
What “optimized” means here
| Goal | Practice |
|---|---|
| Right pixels | Resize to the largest size the design actually shows (with a little retina headroom) |
| Right weight | Compress photos so file KB matches the job |
| Right format | JPG/WebP for photos; PNG for UI/transparency when needed |
| Right metadata in WP | Descriptive alt text; sensible filenames |
| Honest limits | No fake “PageSpeed 100 guaranteed” claims |
Step-by-step: optimize before upload
1. Measure how large the image displays
A sidebar thumbnail does not need a 4000 px original. A full-bleed hero might need ~1600–2400 px wide depending on the theme. Check the live template or theme docs.
2. Resize the master
Use Image Resizer to set the long edge to your display need. Keep a full-resolution archive offline if you may print later—Media Library is for delivery, not cold storage of every RAW.
Example: Blog inline photo displayed at ~720 px CSS width → export ~1440 px wide JPG for 2× screens, then compress.
3. Compress
Run Image Compressor. For a batch of article images, Bulk Image Compressor saves time. Stop when text in the photo or faces turn blocky.
4. Choose format intentionally
- Photos / screenshots of real scenes → JPG or WebP
- Logos / icons with transparency → PNG (or WebP with alpha if your stack supports it)
- HEIC from phones → HEIC to JPG before WordPress if editors or hosts mishandle HEIC
Convert with Image Format Converter when switching formats.
5. Upload to Media Library
Add alt text that describes the image for accessibility. Write for humans; do not stuff keywords.
6. In-content best practices
Insert the size WordPress offers that matches the layout (Large vs Full). Avoid forcing Full in a narrow column when a smaller registered size is enough. Lazy-loading is default on modern WordPress for many embeds—do not disable it casually.
WordPress settings worth checking
- Settings → Media — Review thumbnail / medium / large dimensions so auto-sizes match your theme.
- Theme / block patterns — Some full-width blocks expect wide sources; others crop aggressively.
- Plugins — Optimization plugins can help after upload, but they are not a reason to upload 10 MB heroes. Prefer fixing masters; use plugins as a second line, not the only line.
- Hosting / CDN — Object cache and a CDN improve TTFB and asset delivery; they do not replace sane dimensions.
Example: WooCommerce product grid
Same discipline as other stores: consistent aspect ratio, compressed JPGs, optional cutouts via Background Remover when your theme wants clean cards. See also Shopify product photo workflow for catalog thinking you can adapt.
Limitations
- ImgifyTools is not a WordPress plugin; you optimize, then upload.
- WebP/AVIF support depends on your WordPress version, theme, and host—test on staging.
- Compression cannot fix a blurry camera original.
- Upload caps on ImgifyTools tools (commonly ~10 MB) may require a pre-shrink.
Privacy
Compress and convert tools upload files to ImgifyTools servers for temporary session processing and are not kept as a permanent upload library by default. The image editor works primarily in your browser. Privacy Policy.
Troubleshooting
| Problem | Fix |
|---|---|
| Upload timeout | Compress/resize first; check host upload_max_filesize |
| Soft images on retina | Export ~2× display width before compress |
| Huge Media Library | Bulk-compress old uploads offline; delete unused files |
| Weird colors | Use sRGB JPG; avoid stacking multiple compressions |
| Plugin conflicts | Disable one optimizer at a time on staging |
FAQs
Should every WordPress image be under 100 KB?
No. Use hard KB targets for forms and email. For articles, balance sharpness and weight—heroes may need more than 100 KB.
Is WebP always better than JPG?
WebP often shrinks photos further when the stack serves it well. Offer a tested path; do not convert your entire library blindly without checking theme support.
Do I still need a caching plugin if I compress?
Caching and compression solve different problems. Compress media and use appropriate caching/CDN for HTML and repeat visits.
Are ImgifyTools steps free?
Core compress, resize, and convert tools are free to use in the browser without an account, within tool limits.
Related
You may also like
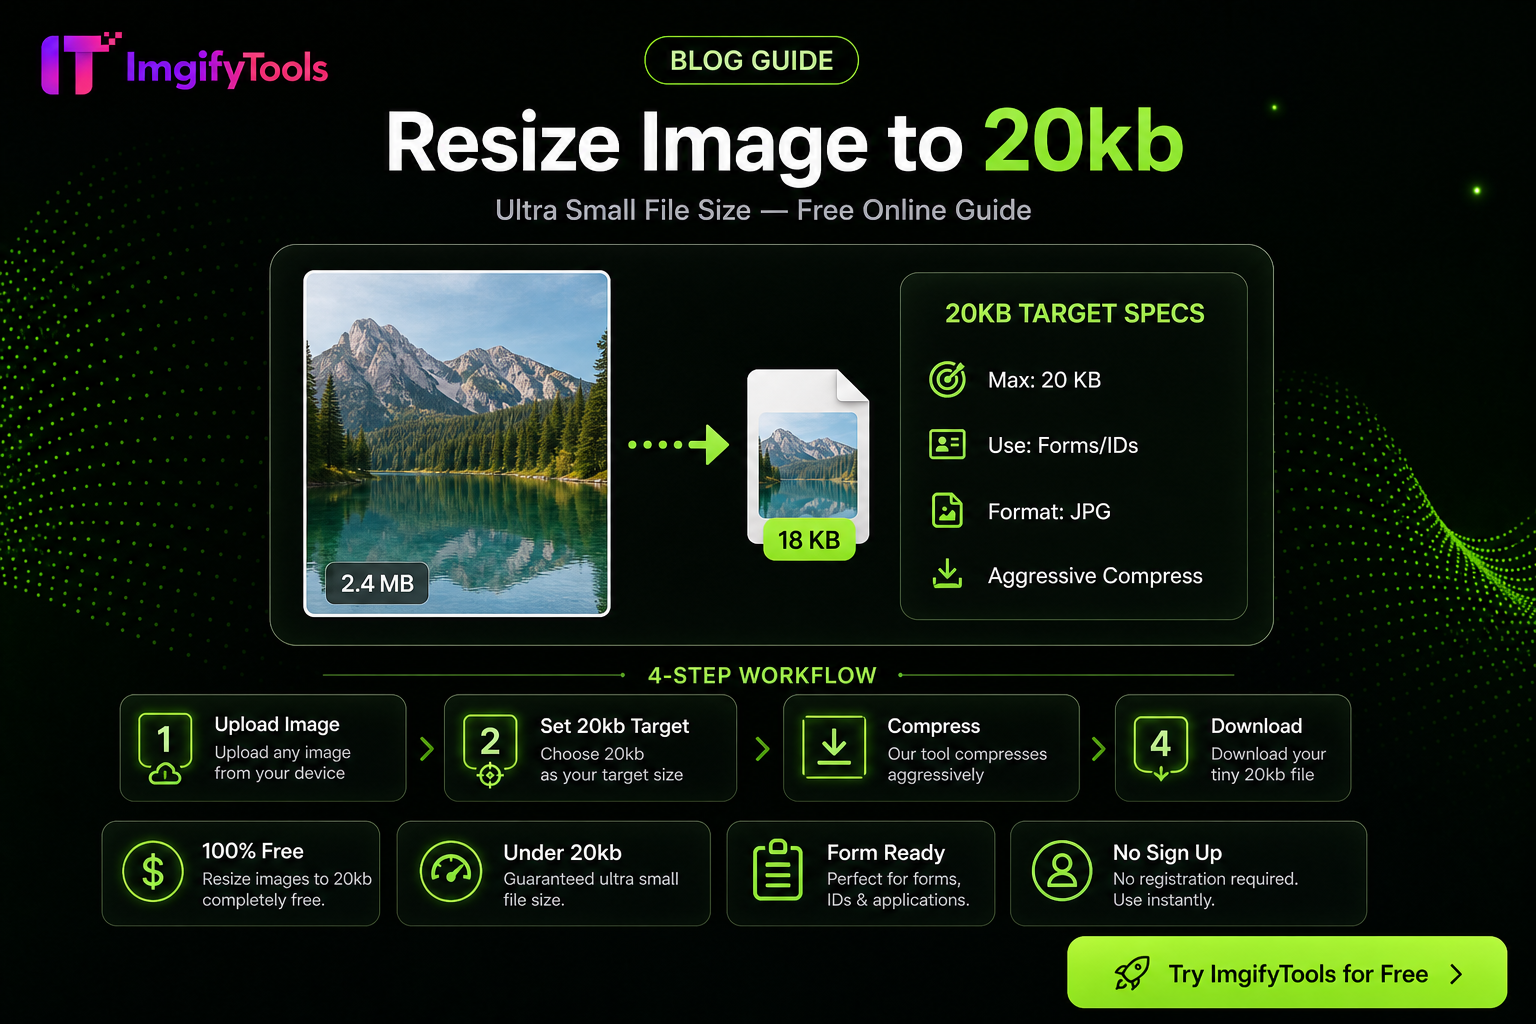
How to Compress an Image to 20KB Without Ruining Quality
Hit a 20KB upload limit with less mush: resize first, pick JPG/WebP wisely, then use target-KB compression—practical steps for portals and forms.
Read next →
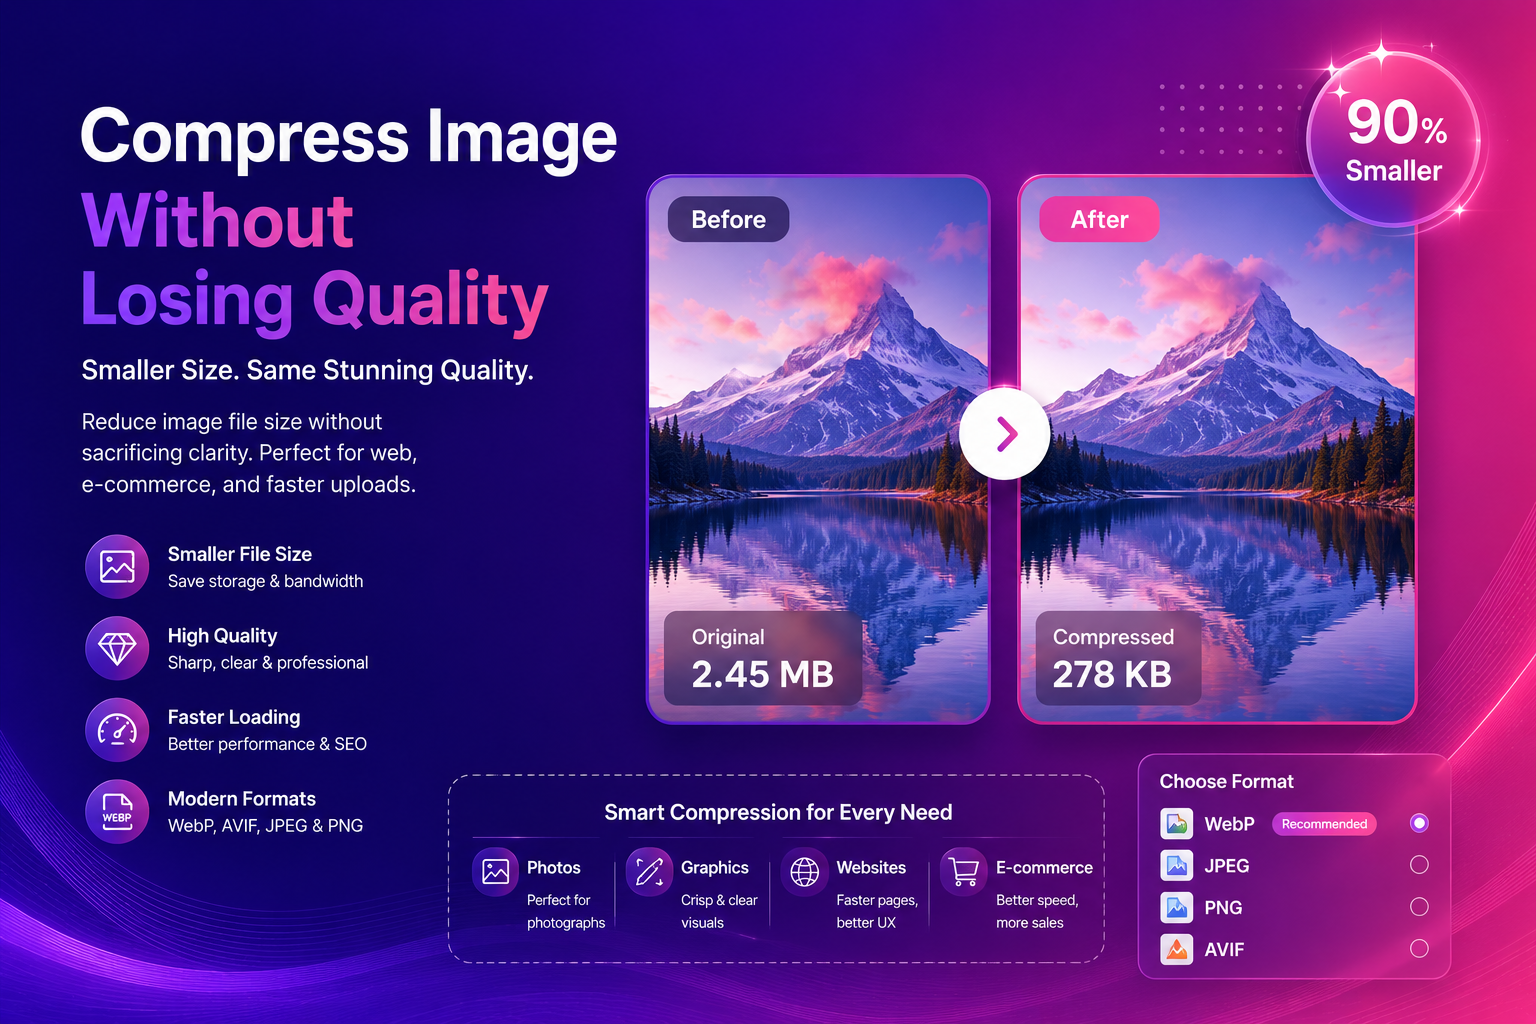
Compress Image Without Losing Quality (Best Methods)
Compress images without losing quality using practical methods for web and e-commerce. Learn formats, settings, and a simple workflow for fast, sharp results.
Read next →
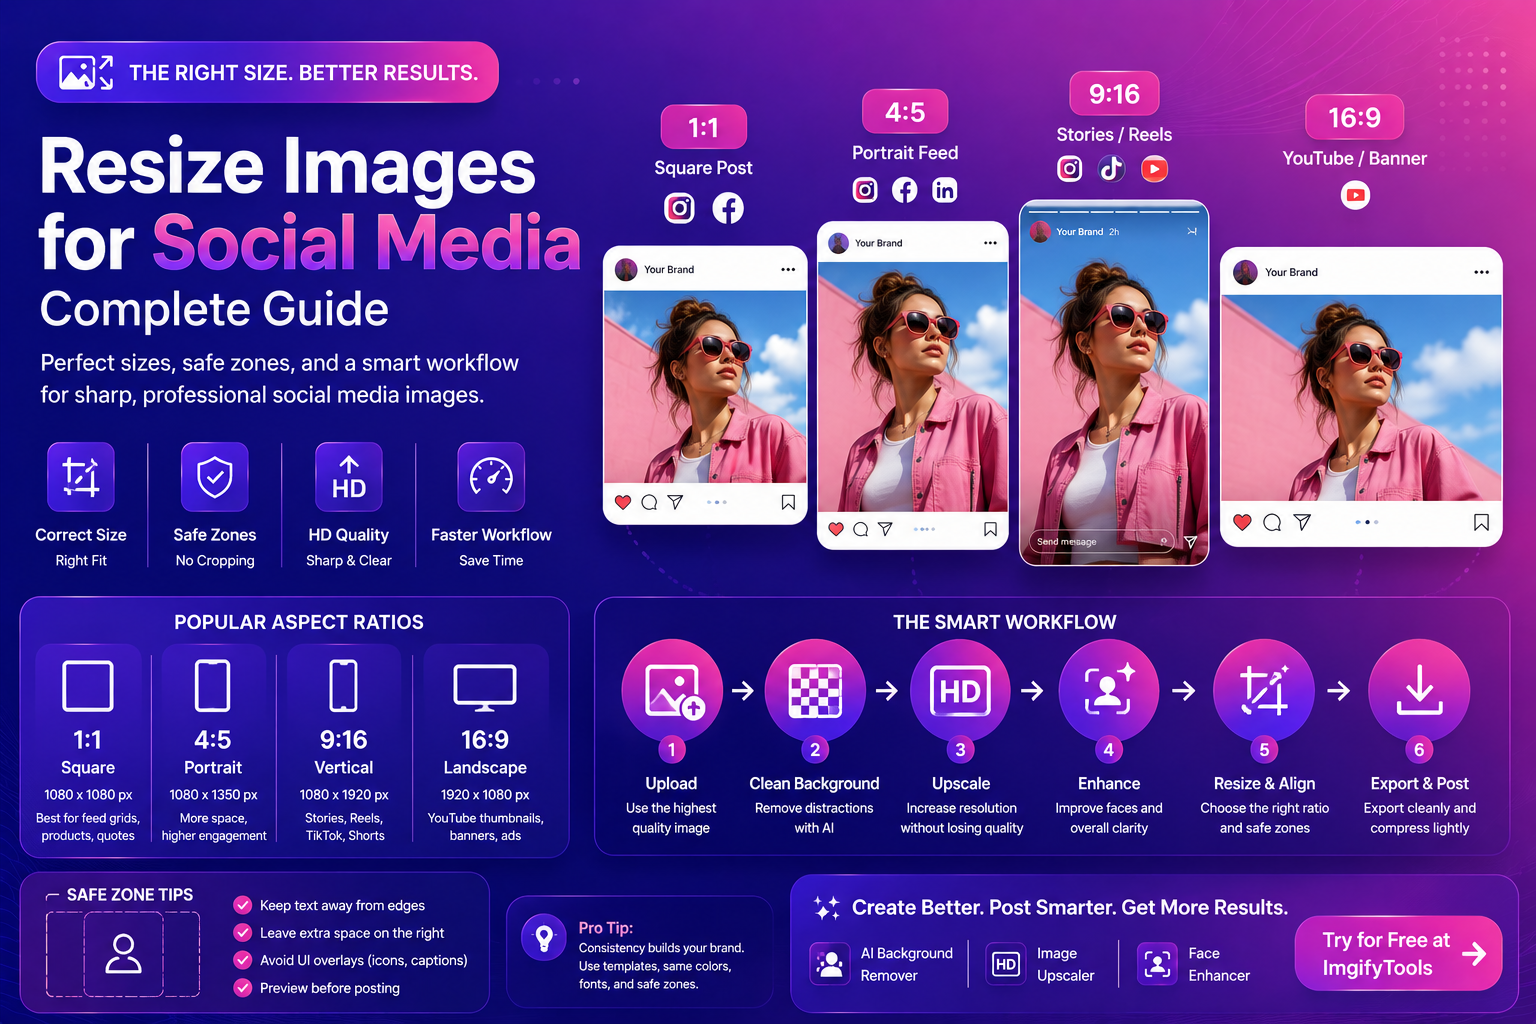
Resize Images For Social Media (Complete Guide)
Resize images for social media the right way. Learn sizes, safe zones, compression tips, and a fast workflow for creators using AI tools.
Read next →