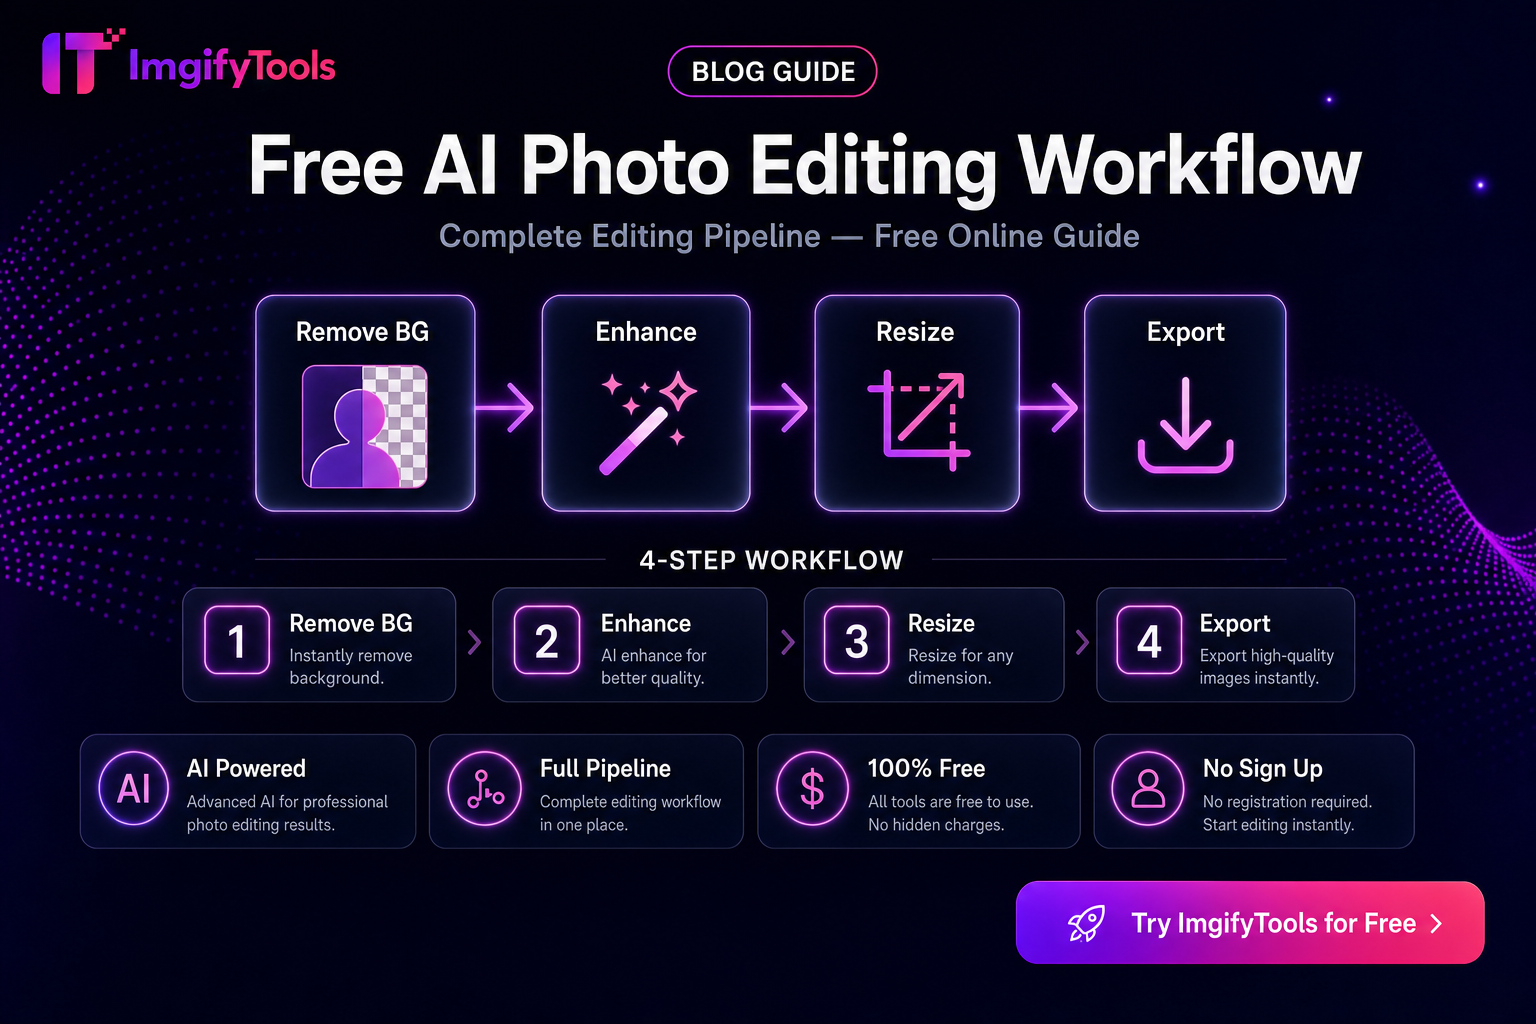
Free Photo Editing Workflow — Which Steps Are AI vs Browser Edit
Not every “AI photo edit” is AI. Mixing up server-side AI tools with browser edit tools leads to wrong privacy expectations and wasted steps. This workflow maps common jobs to the right ImgifyTools path—without ranking fabricated “best AI” scores.
Two processing paths on ImgifyTools
| Path | Typical jobs | Where processing happens |
|---|---|---|
AI tools (/ai/...) | Background remove/change, upscale, face enhance, object remove, colorize, cartoonize | Upload to ImgifyTools servers for temporary session processing |
Edit / convert tools (/edit/..., /convert/...) | Compress, resize to KB, crop, rotate, DPI, format convert, effects | Upload for temporary server processing on those tool routes |
Image editor (/image-editor) | Canvas-style crop, text, filters, local adjustments | Primarily in the browser on your device |
Details always follow the live tool panel and Privacy Policy. Do not assume “everything stays on device” for AI or convert flows.
A practical weekly workflow
1. Start from the best master
Prefer original camera/HEIC exports over screenshots. Convert phone HEIC when needed: HEIC to JPG.
2. Cut out or replace background (AI)
Use when the backdrop fights the destination (listings, profile cards, decks).
- AI Background Remover
- Background Changer
- Product-oriented entry: Remove Product Background
Judge hair, glass, and thin edges at 100% zoom. AI is a starting mask—not a guarantee.
3. Recover resolution only when needed (AI)
If the file is genuinely small for a banner or zoom crop, try AI Image Upscaler. Upscaling cannot invent a perfect face from a blurry thumbnail. Compare before/after at full zoom.
4. Portrait clarity (AI) — use lightly
Face Enhancer can improve clarity. Stop before the skin looks plastic. Skip beauty-style overprocessing for ID-like uses.
5. Cleanup distractions (AI)
Object Remover helps with stray props. Check for smudges where the object was.
6. Publish-ready sizing (edit — not “AI magic”)
These steps are ordinary image processing, even when marketed elsewhere as “AI”:
- Image Compressor
- Platform Image Resizer
- Exact caps: resize to exact file size
- Creative adjustments: Image Effects
- Deeper local canvas work: Image Editor
7. Optional stylization (AI)
Photo to cartoon and colorize are creative—not listing compliance tools.
Example stacks (pick one)
Marketplace listing: remove background → place on white → compress/resize → upload.
Social post: crop/resize for platform → light effects → compress if the app re-compresses heavily.
Portrait for web bio: optional face enhance → crop → compress.
Archive cleanup: convert format → optional colorize/restore tools → save a master before heavy compression.
What this workflow does not claim
- No fabricated speed/quality leaderboard versus other brands
- No promise that AI edges always beat manual masking
- No “100% local” claim for AI/convert uploads
Privacy checklist before you upload
- AI and most convert/edit tool routes: temporary server processing for the session
- Image editor: primarily on-device
- Avoid uploading documents you are not allowed to process in a third-party tool
FAQs
Is compression an AI tool?
On ImgifyTools, compression and KB targeting are edit tools. They are useful publishing steps, not generative AI.
Do I need every AI tool every time?
No. Use the minimum path that meets the destination’s rules.
Where should I start if I only need a cutout?
AI Background Remover. Then compress if the marketplace has a size cap.
Related reading
You may also like

Remove Background for E-Commerce — Product Photo Checklist
Prepare marketplace-ready product cutouts: lighting, edge quality, white backgrounds, file formats, and an honest ImgifyTools workflow with privacy notes.
Read next →
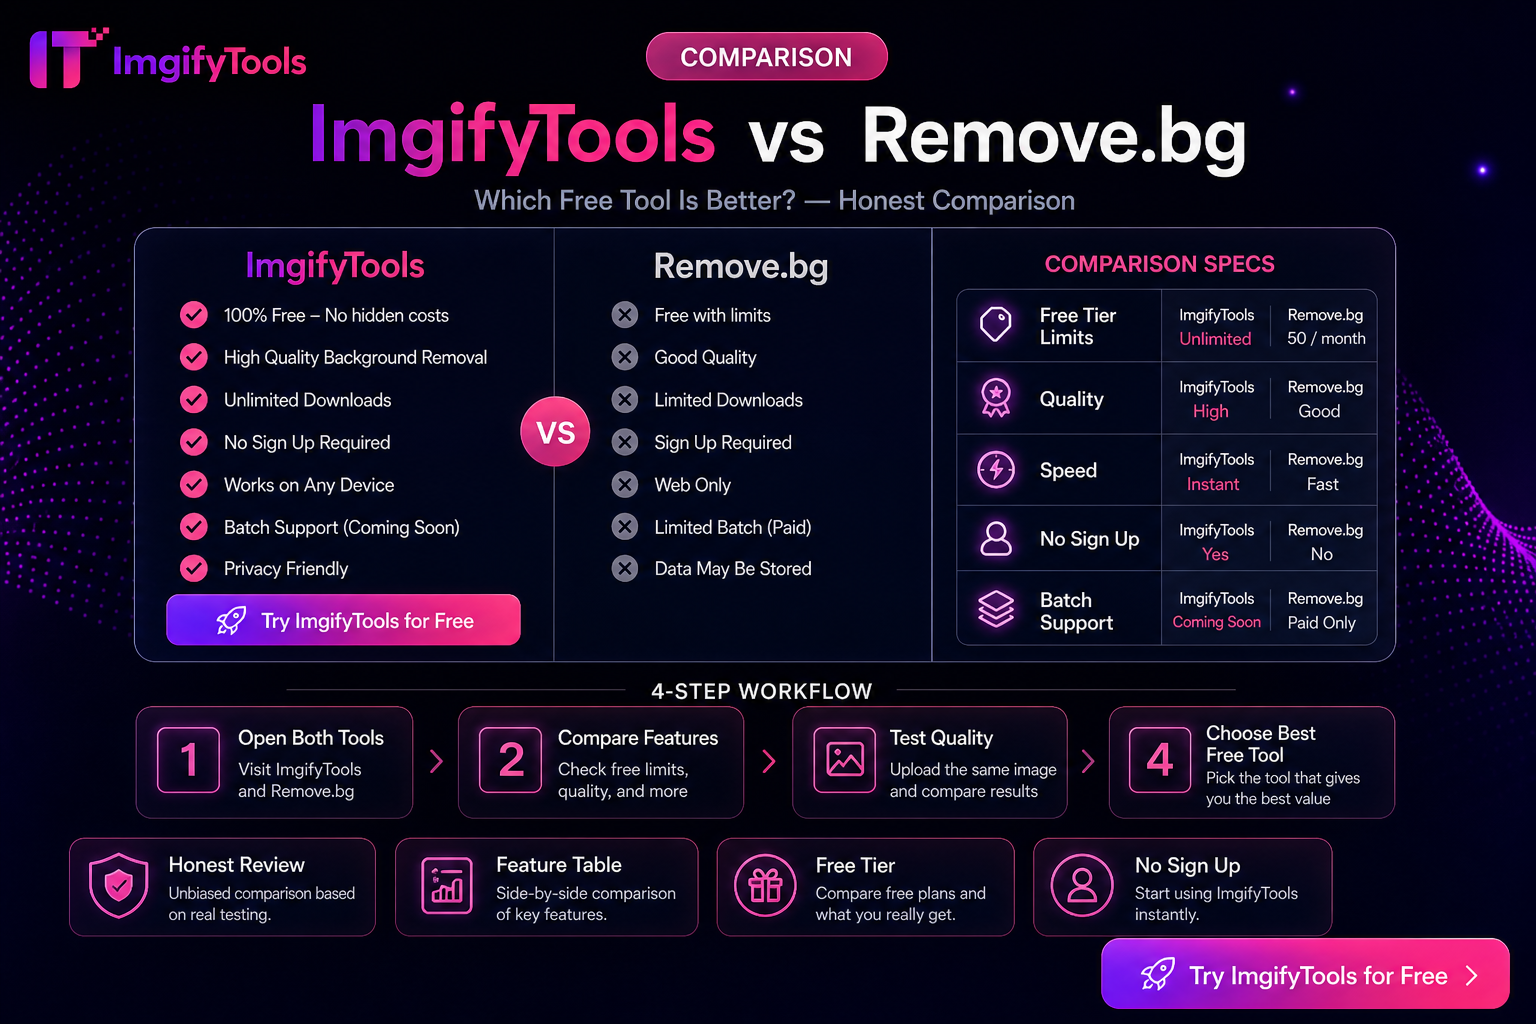
ImgifyTools vs Photopea — Browser Image Suite vs Full Editor
Photopea is a PSD-capable browser editor; ImgifyTools is a free tool suite for cutouts, compress, convert, and quick edits. Choose by job scope—not hype.
Read next →
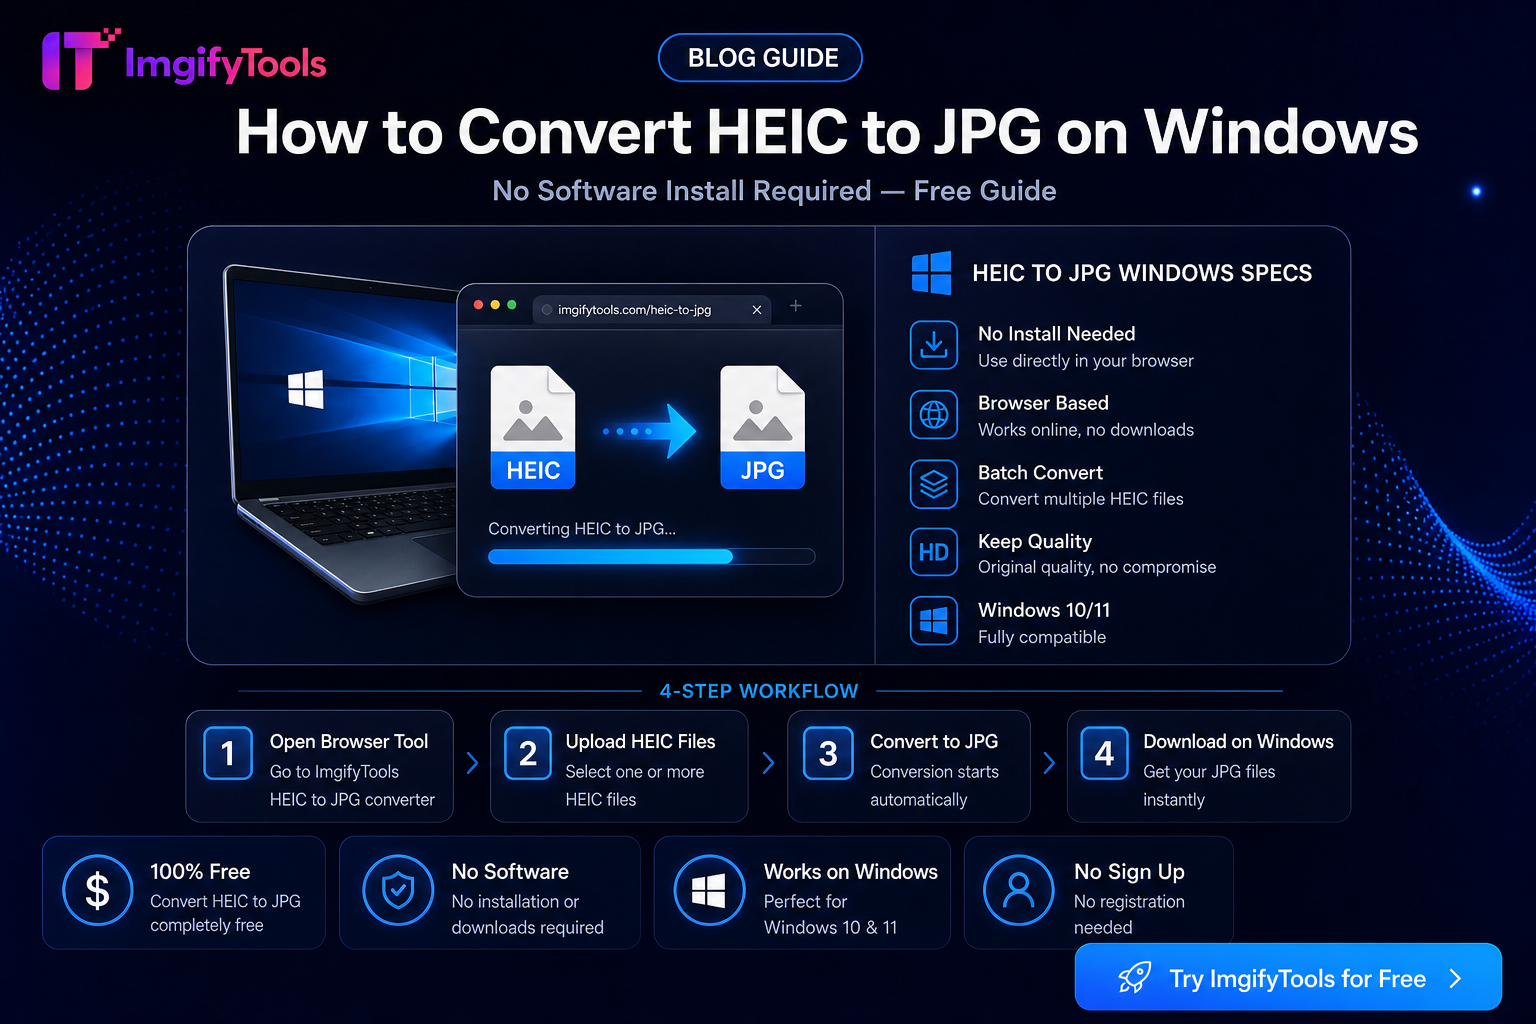
How To Convert HEIC To JPG On Windows Without Software
Open iPhone HEIC photos on Windows 10 and 11 without Microsoft Store codecs. USB, iCloud, and browser conversion steps plus limits and privacy notes.
Read next →